Post Sections ⇅
- Where is the Maelstrom Hunting Log?
- Maelstrom Hunting Log Rank 1
- Maelstrom Hunting Log Rank 2
- Maelstrom Hunting Log Rank 3
Where is the Maelstrom Hunting Log?
Simply open up your usual FFXIV Hunting Logs window and you can find the crest underneath the class/job symbols.
I didn’t want to just copy and paste everything from my Twin Adder Hunting Log, so I hope that description is enough for yous.
Individually Searchable?
I’m now in the process of creating searchable entries for the landscape targets here. There should be minimum disruption so these guides will remain whole and accurate during the transition. Thanks!
Maelstrom Hunting Log Rank 1
As you progress through these difficulty ranks, you’ll see that, basically, you’re fighting against the Beast Tribes. This coincides with much of the ![]() MSQ, and certainly on the harder trials between A Realm Reborn and Heavensward.
MSQ, and certainly on the harder trials between A Realm Reborn and Heavensward.
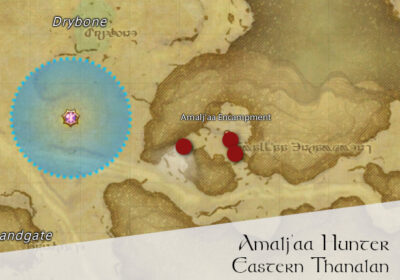
Amalj'aa Hunter
Number Required: 3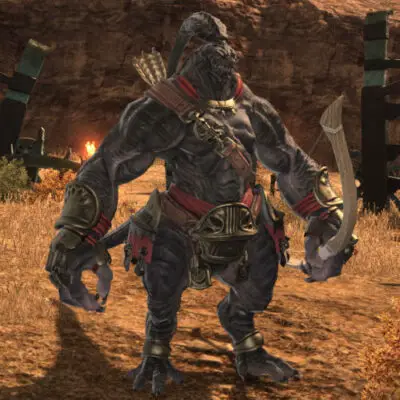 Seals Reward:
As you would expect from the title, the Amalj'aa Hunter is an Archer class enemy.
Amalj'aa Hunter Location
They're found in a little "loop" off the beaten track in Eastern Thanalan. The early(ish) MSQ brings you here, but I think that's just before you join a Grand Company. If you remember where you investigated the Amalj'aa with Thancred, then return here once you can.
Region/Area
Eastern Thanalan: DryboneNearest Aetheryte
Eastern Thanalan: Camp DryboneSylvan Groan
Number Required: 3 Seals Reward:
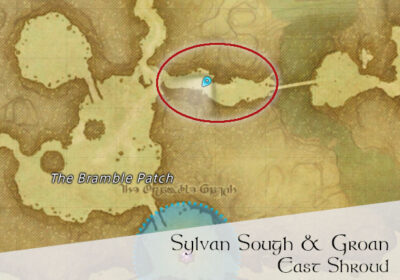
Sylvan Groan Sylphs are Thaumaturge class, "touched ones" that can, pretty much, only be found in one place.
Assuming you have not immediately followed another player, there will be enough of these to clear the log entry, even if the below FATE is not on.
Where are Sylvan Groans?
The Maelstrom Hunting Log says "The Bramble Patch", but they're on the way from there to Larkscall. If you reach the other side of the bridge, you've gone too far.
 Involved in FATE
ThunderstruckReward:
Region/Area
East Shroud: The Bramble Patch / LarkscallNearest Aetheryte
East Shroud: The Hawthorn HutSylvan Sough
Number Required: 3 Seals Reward:
In case you spot their tiny weapons before they zap you, the Sylvan Sough is a Conjurer class touched Sylph.
Where is the Sylvan Sough?
In case you skipped here straight away on the log, or searched directly for them, they are in the same area as Sylvan Groans; between the Bramble Patch and Larkscall.
If you are clearing the Maelstrom Hunting Log, make sure to clear both entries at the same time.
If you're roughly on-level, they probably won't give you a choice!
 Involved in FATE
ThunderstruckRegion/Area
East Shroud: The Bramble Patch / LarkscallNearest Aetheryte
East Shroud: The Hawthorn HutKobold Pickman
Number Required: 3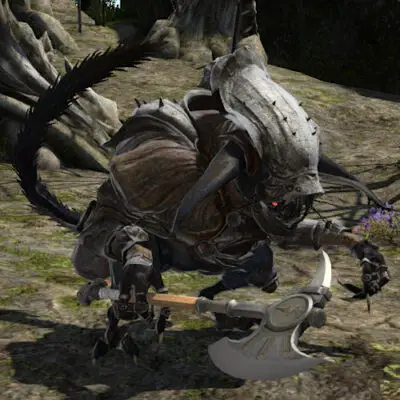 Seals Reward:
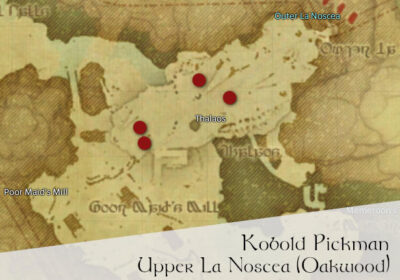
The Kobold Pickman variety of Kobolds is one of a few scavenging around the skeleton at Thalaos in Upper La Noscea. I found four of them, but you only need three.
Despite their name, they are not holding picks, but axes. But don't take time to question why they're mining or digging with an axe! Just appease your Grand Company and take some out for the safety of Eorzea.
Reward
Region/Area
Upper La Noscea: OakwoodNearest Aetheryte
Upper La Noscea: Camp Bronze Lake, orWestern La Noscea AleportAmalj'aa Bruiser
Number Required: 3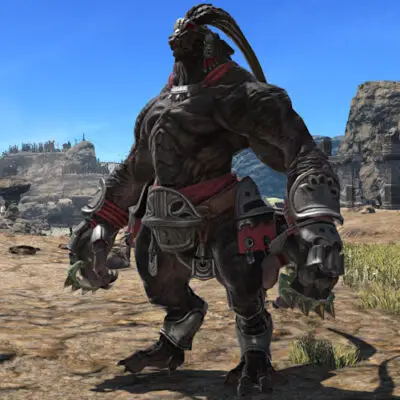
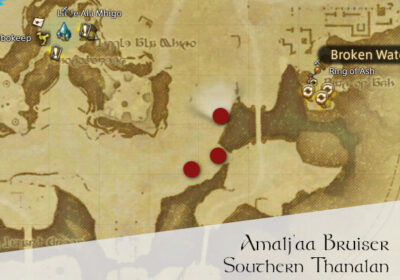
Just South-East of Little Ala Mhigo, you'll find a group of Amalj'aa of various types loitering around. The Amalj'aa Bruiser is a Pugilist, but unless you're well over-levelled, then others will join in the fighting.
No one's ever complained about taking out too many of them though, have they? Well, except maybe the Amalj'aa themselves! The Twin Adder and Maelstrom certainly won't!
Reward
Region/Area
Southern Thanalan: Broken WaterNearest Aetheryte
Southern Thanalan: Little Ala MhigoIxali Straightbeak
Number Required: 3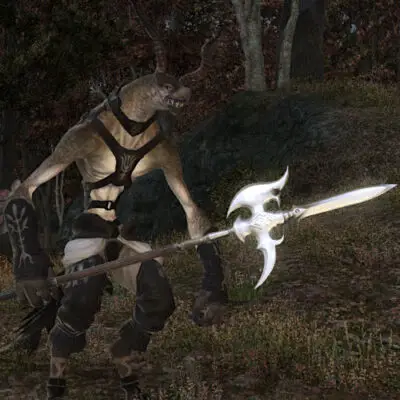 Seals Reward:
First off, "Alder Springs" covers a huge area! So, let's narrow that down.
Ixali Straightbeak Location
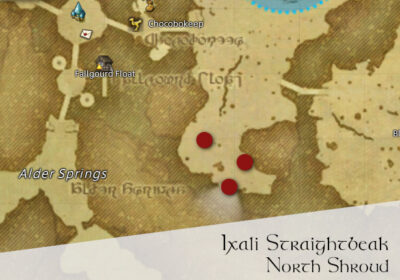
Head East from Fallgourd Float, then turn South. You'll find your Ixali Straightbeak targets with the Ixali Deftalons from the Twin Adder Hunting Log.
If you're over-levelled, look for the Lancers. If you're not, the likelihood is that the Ixals will aim for you. Which, for once, is a good thing!
Reward
Region/Area
North Shroud: Alder Springs (Kinda)Nearest Aetheryte
North Shroud: Fallgourd FloatIxali Wildtalon
Number Required: 1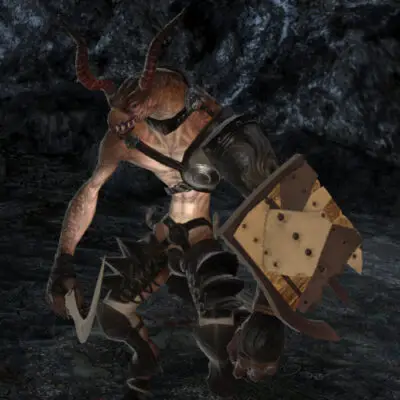 Seals Reward:
You only need one gladiator-class Ixali Wildtalon for the Maelstrom Hunting Log. But, depending on whether you shortly follow another player or not, there are two Wildtalons to be had.
Where Are They?
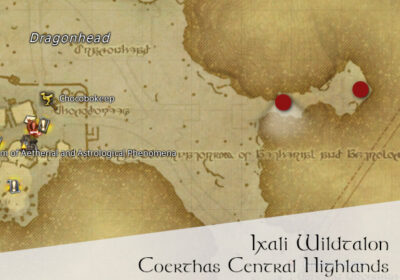
Head through a tunnel East of Coerthas' Observatorium![]() and you'll find a small gaggle of Ixals. That is the collective noun, right?! Your target is in that gaggle.
and you'll find a small gaggle of Ixals. That is the collective noun, right?! Your target is in that gaggle.
Reward
Region/Area
Coerthas Central Highlands: DragonheadNearest Aetheryte
Coerthas Central Highlands: Camp Dragonhead, or North Shroud: Fallgourd FloatRank 1 Dungeon Targets
For the Maelstrom Hunting Log Rank 1, you have three targets that can only be found in a dungeon. This is Halatali![]() . It is technically an optional dungeon, so see that guide on how to unlock it. Because it’s optional, it does not feature in Duty Support yet.
. It is technically an optional dungeon, so see that guide on how to unlock it. Because it’s optional, it does not feature in Duty Support yet.
Heckler Imp
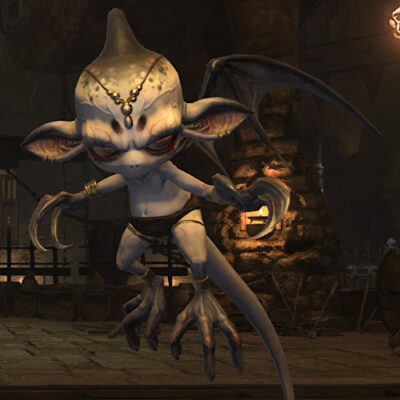 You will encounter these little voidsent within a few moments of stepping into Halatali! But Heckler Imps are rarely on their own. The bonus of that is, you’ll get to take out other Hunting Log targets at the same time!
 Reward: ![]() × 266
× 266
Doctore
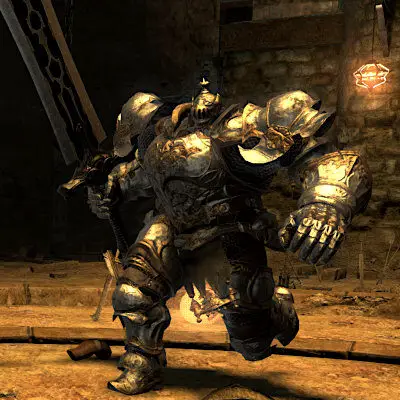 If an enspirited suit of armour could “over-compensate”, the Doctore would totally have nailed that. You may even notice the sword before the armour, to be honest. Just be careful of its AoEs in particular.
 Reward: ![]() × 287
× 287
Firemane
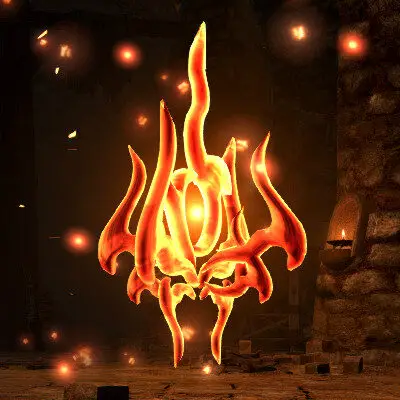 Firemane is not a lion, unfortunately. It is a huge Fire Sprite and also the first boss inside Halatali.
 Reward: ![]() × 311
× 311
Maelstrom Hunting Log Rank 2
There’s a real emphasis on the Kobolds in Rank 2. But as a progressing fighter of the Maelstrom, knowing the Kobolds are a local problem, you have to do your duty! Well, once you’ve cleared an Amalj’aa. If you do them in order!
Amalj'aa Divinator
Number Required: 2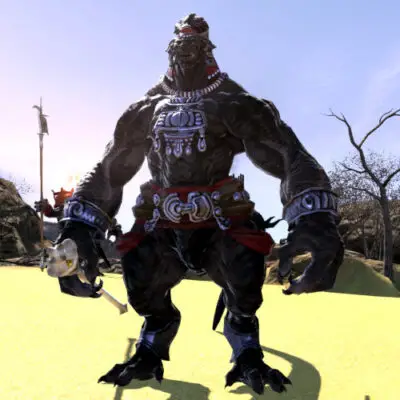 Seals Reward:
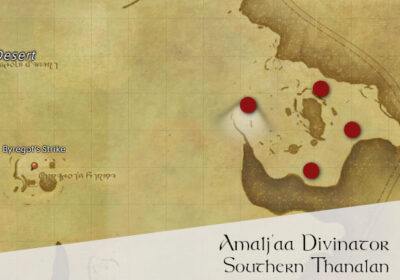
There's Southern Thanalan. Then there's the Sagolii Desert in the South of Southern Thanalan. The Amalj'aa Divinator is in almost the very South of Sagolii!
Depending on when you're clearing your Maelstrom Hunting Log, the Amalj'aa Tribal Questline brings you here. You can ride or fly there, or keep an eye out for the FATEs.
 Involved in FATEs
Blood, Augur, Hex, MagicksReward:
Region/Area
Southern Thanalan: Sagolii DesertNearest Aetheryte
Southern Thanalan: Forgotten SpringsKobold Pitman
Number Required: 3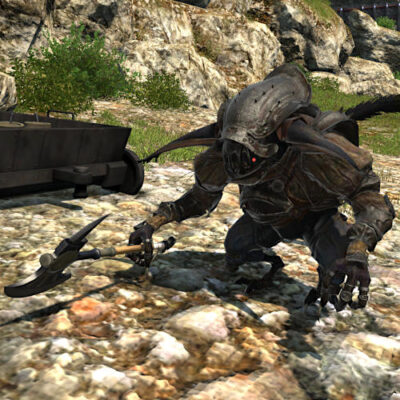 Seals Reward:
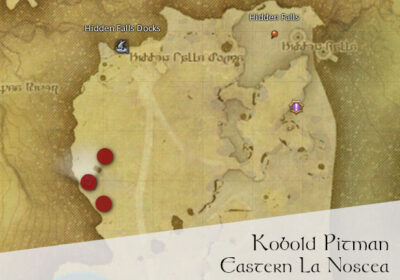
Your battle against the Kobolds in Rank 2 begins with the Kobold Pitman. But this one isn't anywhere you'd normally consider their kind to be. Instead, your Pitman, along with those of different classes/ranks, can be found on a grassy part of Bloodshore. Apparently they just wanted a beach trip!
Well, you need to rain on their holiday in the name of the Maelstrom.
 Involved in FATE
SurpriseReward:
Region/Area
Eastern La Noscea: BloodshoreNearest Aetheryte
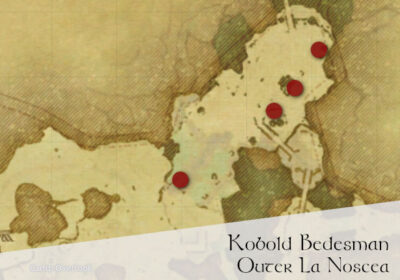
Eastern La Noscea: Costa del SolKobold Bedesman
Number Required: 3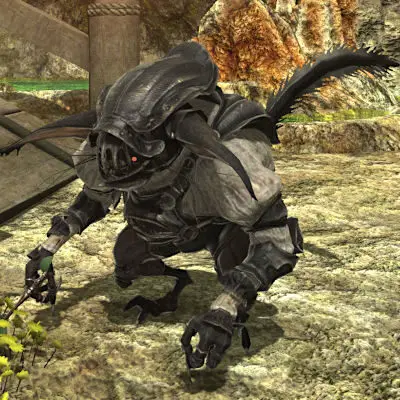 Seals Reward:
 Involved in FATEs
Reward:
Region/Area
Outer La Noscea: Iron LakeNearest Aetheryte
Outer La Noscea: Camp OverlookKobold Priest
Number Required: 1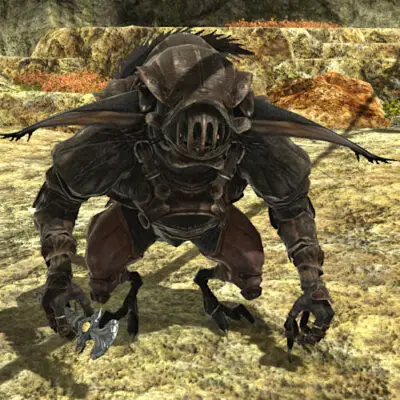 Seals Reward:
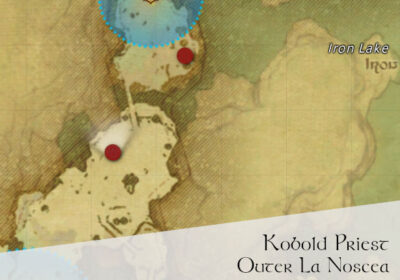
You only require one Kobold Priest, but being the generous soul that I am, I found two for you. As with the Kobold Bedesman, they're in the Iron Lake![]() area of Outer La Noscea.
area of Outer La Noscea.
The Priests seem to have darker armour than the other Kobolds too. But they don't have any fancy headwear that makes them stand out.
Find the Priest
The two spots I found were:- X:22.3, Y:13.6
- X:23.4, Y:12.1
Take out your target just in case the tiny rat man drags you before Titan. If you're a Roegadyn, it would be hilarious to see him try!
Reward:
Region/Area
Outer La Noscea: Iron LakeNearest Aetheryte
Outer La Noscea: Camp OverlookSylvan Sigh
Number Required: 3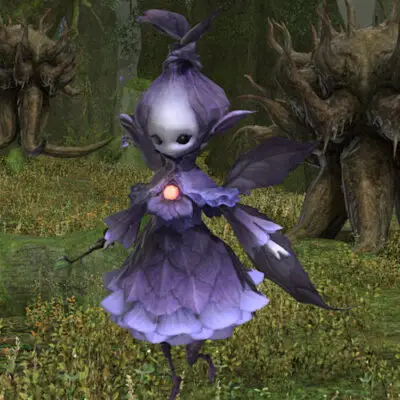 Seals Reward:
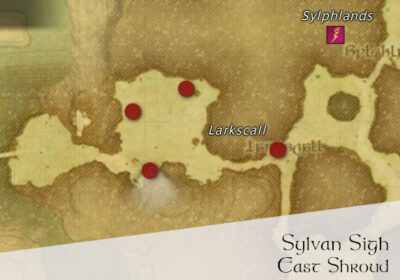
As if you hadn't seen enough purple Sylphs already in the Maelstrom Hunting Log! You now have to find the Ones called Sylvan Sigh.
These ones are healing ones and can be found dozing, or chatting with other touched ones. You can find them a bit further East in Larkscall than the ones called Sylvan Groan and Sylvan Sough.
Reward:
Region/Area
East Shroud: LarkscallNearest Aetheryte
East Shroud: The Hawthorn HutShelfscale Sahagin
Number Required: 3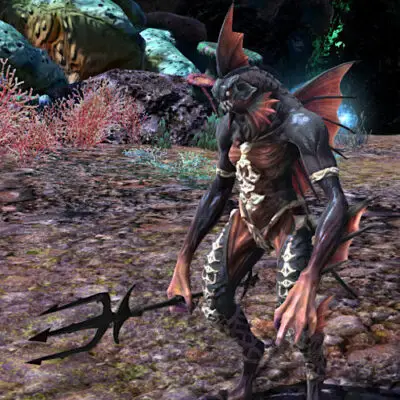 Seals Reward:
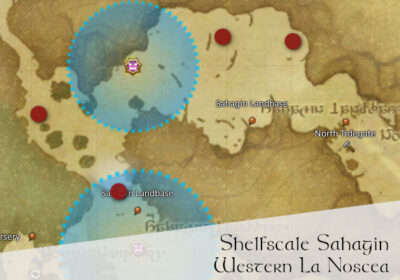
The Shelfscale Sahagin is a lancer-class fighter, so does not wield the same weapons some of his fellows do. These "fishbacks" can be found beyond the two Tidegates of Western La Noscea.
Start at Aleport, head towards the Killer Mantis location, then pass through the gates.
Be Aware of Respawn Timers
I've marked the first four I found. But the ![]() MSQ brings you through here, and FATEs are often on. Oh, and Novv's Nursery
MSQ brings you through here, and FATEs are often on. Oh, and Novv's Nursery![]() Tribal quests take place here.
Tribal quests take place here.
So it's possible I missed one or two Shelfscales! Be open to waiting for them to respawn.
Reward:
Region/Area
Western La Noscea: HalfstoneNearest Aetheryte
Western La Noscea: AleportAmalj'aa Pugilist
Number Required: 3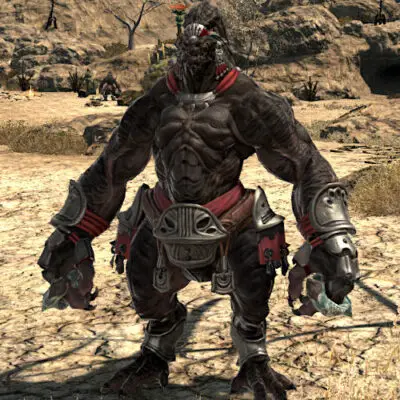 Seals Reward:
I bet you'll never guess what an Amalj'aa Pugilist looks like and how it fights? Oh, you did. Well, never mind!
Though, I will just say that just because you see an Amalj'aa who is a pugilist, that does not mean he's your Hunting Log target. Look at the nameplate and check for your little target symbols.
Where are They?
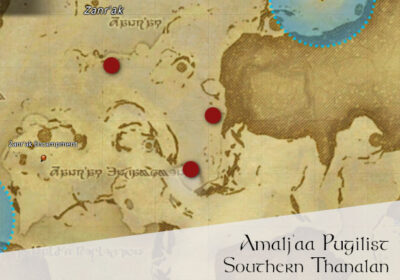
These pugilists are in the Zanr'ak part of Southern Thanalan. While you may find one around X:19.7, Y:20.2, there are more and closer together further South around X:21, Y:24 and X:20.5, Y:25.
Reward:
Region/Area
Southern Thanalan: Zanr'akNearest Aetheryte
Southern Thanalan: Little Ala MhigoRank 2 Dungeon Targets
The last three targets for your Maelstrom Hunting Log Rank 2 are found in The Sunken Temple of Qarn![]() . As with Halatali earlier, Qarn is an optional dungeon that requires a separate unlock to the main scenario.
. As with Halatali earlier, Qarn is an optional dungeon that requires a separate unlock to the main scenario.
Temple Bat
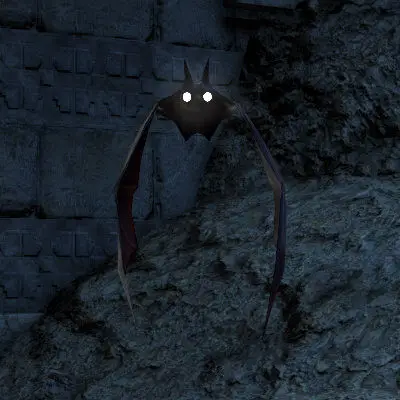 You will encounter Temple Bats as the first enemy within the Sunken Temple of Qarn. If you are a tank on a speed run, or are with one who is, then the first group of bats can be avoided.
However, more are underground, where you can’t avoid them, so you should still easily tick this off on one run.
Reward: ![]() × 609
× 609
The Condemned
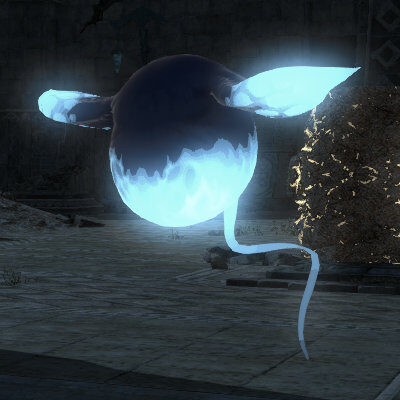 The Condemned is just a Revenant by another name. If you don’t see these in the optional side rooms, then there are more in the chambre immediately before the final boss.
 Reward: ![]() × 629
× 629
Teratotaur
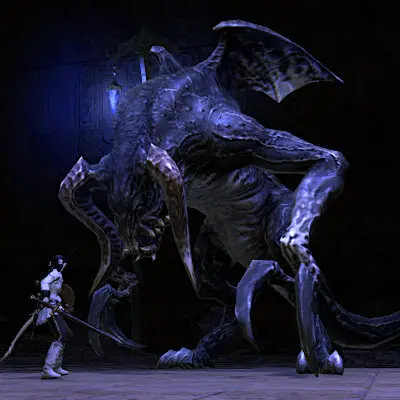 The Teratotaur is the first boss of Qarn. You can interrupt his room-wide AoE that gifts you with “Doom”. If you get the Doom debuff run to a lit-up floor square to remove it as it cannot be Esuna‘d off.
Reward: × 655
Maelstrom Hunting Log Rank 3
Finally, we make it to Rank 3! While you don’t have to clear it in order to reach the rank of Storm Captain, I hate starting something and not finishing it. I’m also great at starting a lot of things and not finishing them!
Let this be one thing you do complete. You get seals, which allow you to buy Maelstrom-only gear and various odds and ends used in Relic Weapon quests. Here are your landscape targets first:
Ixali Boldwing
Number Required: 3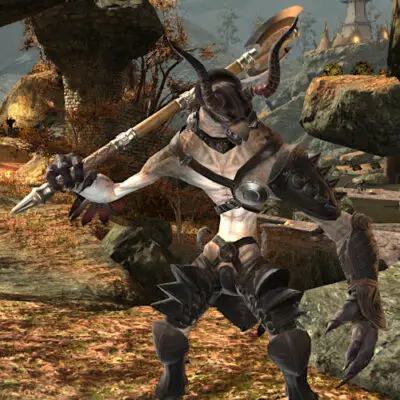 Seals Reward:
In the North Shroud there are the not-so-subtly-named Ixali Logging Grounds. Depending on when you arrive, you may find a cocky-looking Ixali Boldwing guarding the way in. I chose him for my screenshot! I have to make my FFXIV Hunting Logs look alright, don't I?
Periodically people search for Ixali Bloodwing. However, as much as I look, I'm fairly sure there isn't one. Check whether, instead of Ixali Bloodwing, you mean Boldwing or Ixali Boundwing.
Where are the Ixali Boldwings?
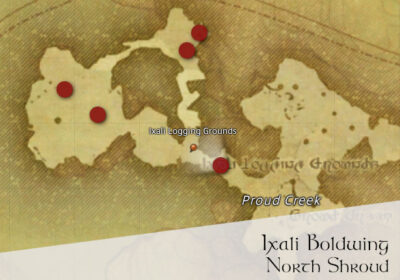
Although some are in the Logging grounds, you can also encounter some in the far North of Proudcreek.
As you can see from my maplet, there are plenty to be had. They also appear in the very low-level FATE ![]() No Birds Allowed
No Birds Allowed![]() .
.
Region/Area
North Shroud: Proud CreekNearest Aetheryte
North Shroud: Fallgourd FloatSylpheed Screech
Number Required: 3 Seals Reward:
Aw, Sylphs are so cute and fluttering...and carry sharp knives to stab people with! At least, this is true for the Sylpheed Screech!
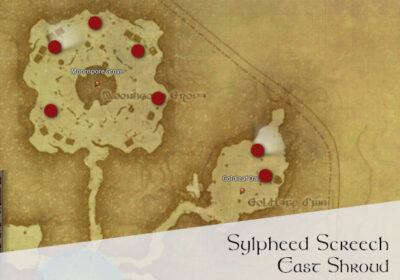
While it is possible to locate one or two of these in the lower parts of the Sylphlands, it is much easier to hunt them in Goldleaf Dais and Moonspore Grove.
 Involved in FATEs
Reward:
Region/Area
East Shroud: SylphlandsNearest Aetheryte
East Shroud: The Hawthorn HutU'Ghamaro Bedesman
Number Required: 3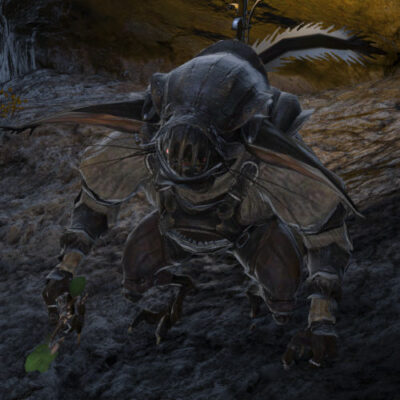 Seals Reward:
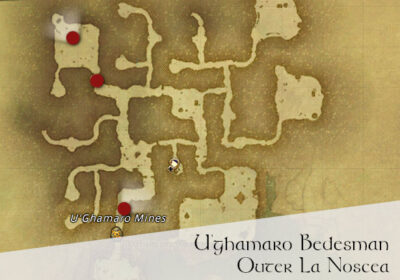
Unlike the Kobold Bedesman, the U'Ghamaro Bedesman is inside the mines of Outer La Noscea.
You only need three of these Kobolds, which is good because I could only find three with that title! Stick to the Western side of the mines and you'll do fine.
 Involved in FATE
Stopping the ShakesReward: ![]() 832
832
Region/Area
Outer La Noscea: U'ghamaro MinesNearest Aetheryte
Outer La Noscea: Camp OverlookTrenchtooth Sahagin
Number Required: 3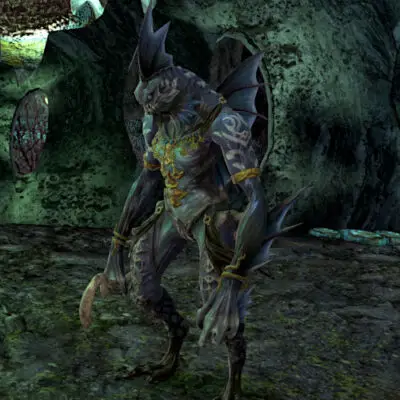 Seals Reward:
Where Are They?
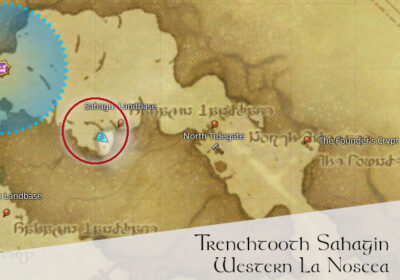
Honestly, at first, I could not find one Trenchtooth Sahagin, let alone three! Eventually, I found all three huddled together in the same place.Enter Halfstone at the North Tidegate of Western La Noscea. Stick to the left edge of the map and follow it around. You'll find them all behind a "wall" of coral.As they are conjurer-class, I wonder if they were hidden healers supporting a would-be Sahagin invasion? Shelfscale Sahagin aren't far away, after all.Reward:
Region/Area
Western La Noscea: HalfstoneNearest Aetheryte
Western La Noscea: AleportSapsa Shelfclaw
Number Required: 3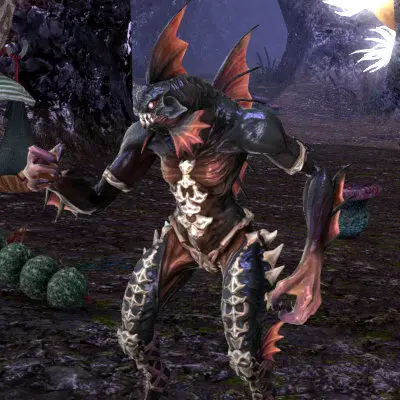 Seals Reward:
Where Are They?
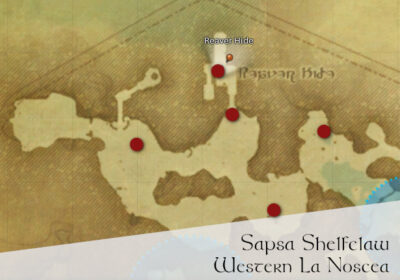
As the name suggests, you can find them in the Sapsa Spawning Grounds after you've passed through Halfstone. They are all in the northern section of the Spawning Grounds too and the Axolotl aren't far away, either.If you don't have flight or are not over-levelled, you will find it to be a fun fight reaching it. Though that does depend on how you define "fun".Reward:
Region/Area
Western La Noscea: Sapsa Spawning GroundsNearest Aetheryte
Western La Noscea: AleportZahar'ak Archer
Number Required: 3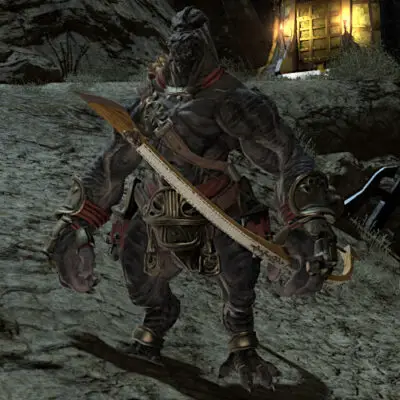 Seals Reward:
The Zahar'ak Archer is another obviously-named Amalj'aa (I prefer it this way!). At least in Zahar'ak, the names don't change like they do in Zanr'ak. So long as you're beyond the gate, any lizardman with a bow is the right one.
Although part of a Tribal Quest, there is no fate including these mobs. Thankfully, there are more Archers here than you need. And, as Zahar'ak is a key location during A Realm Reborn, the respawn timers are short too.
Range of Coordinates
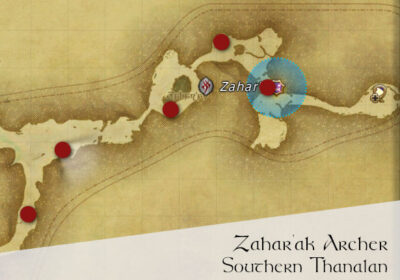
Although I've given some coordinates, they actually range from from (X:23.1, Y21.8) to (X:32.3, Y:19.5).
Region/Area
Southern Thanalan: Zahar'akNearest Aetheryte
Southern Thanalan: Little Ala MhigoNatalan Fogcaller
Number Required: 4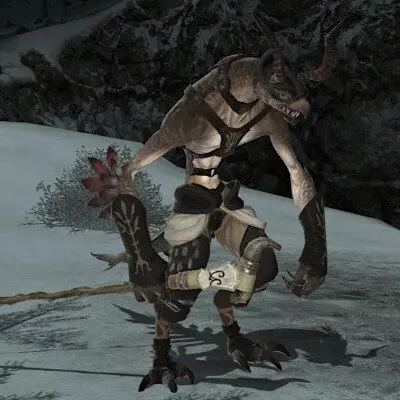 Seals Reward:
Most of your Maelstrom Hunting Log targets have required you to defeat three. However, you will need four Natalan Fogcallers.
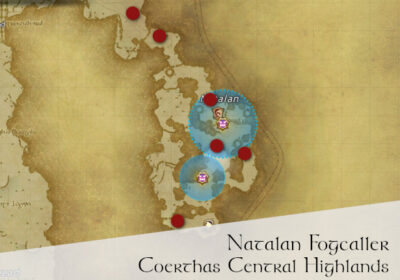
As with others, however, there are plenty - more than you need. Stick mostly to the eastern side of Natalan and you'll be fine. There is one not far from the Ixali Aetheryte if you get desperate!
 Involved in FATE
The Storm CallerRegion/Area
Coerthas Central Highlands: NatalanNearest Aetheryte
Coerthas Central Highlands: Camp DragonheadNatalan Boldwing
Number Required: 5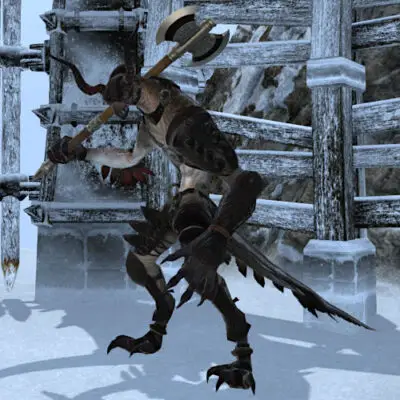 Seals Reward:
And finally you can finish your Maelstrom Hunting Log * by hunting five of the Natalan Boldwing Ixals. Assuming you've cleared your dungeon targets, anyway!
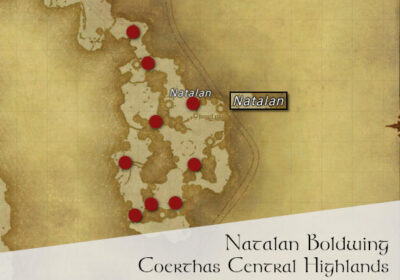
Natalan Boldwing Location
The Boldwings are found in their stronghold in Coerthas, shockingly called...Natalan.
I decided not to give specific coordinates for these, mostly because they are not hard to find! As you can see from the Natalan Boldwing Map, they are everywhere.
 Involved in FATE
The Storm CallerRegion/Area
Coerthas Central Highlands: NatalanNearest Aetheryte
Coerthas Central Highlands: Camp DragonheadRank 3 Dungeon Targets
Tonberry
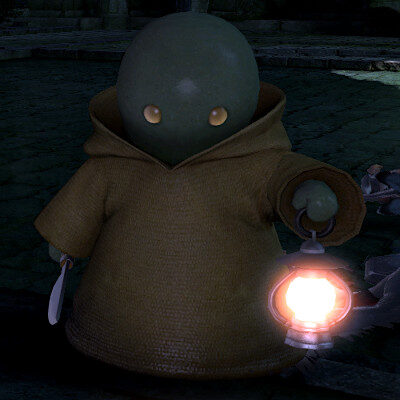 If you don’t know the history of The Wanderer’s Palace, then unlock Scholar to find out! You’ll find plenty of Tonberry enemies in the dungeon. The first is obvious almost immediately once you step away from the starting corridor.
 Reward: ![]() 1,555
1,555
Giant Bavarois
 I don’t know what it is with FFXIV and turning desserts into freaky voidsent, but at least it’s imaginative. The Giant Bavarois is the second boss of the Wanderer’s Palace and bares no ressemlance to the actual food
 Reward: ![]() 1,619
1,619
TL;DR That’s a Wrap for the FFXIV Maelstrom Hunting Log!
That’s been quite a ride, really! The Grand Company logs generally don’t muck about – on-level these are dangerous enemies you have to genuinely fight against. Of course, since flight was allowed in Eorzea, clearing entries from the Maelstrom Hunting Log has been much quicker and you can over-level to make it easy. But if you want to achieve promotions within the ranks you’ll need to clear much of these logs.
I hope you found this guide helpful. Next time it will be the Flames. But for now, have fun in Final Fantasy XIV, til Sea Swallows All!
