Post Sections ⇅
- Skyfire 2 or Skyfire II?
- How to Obtain the Book of Skyfire 2
- Individual Enemy Hunt
- FATEs
- Levequests
- Dungeon Enemies
- Exchange Your Book of Skyfire II, or?
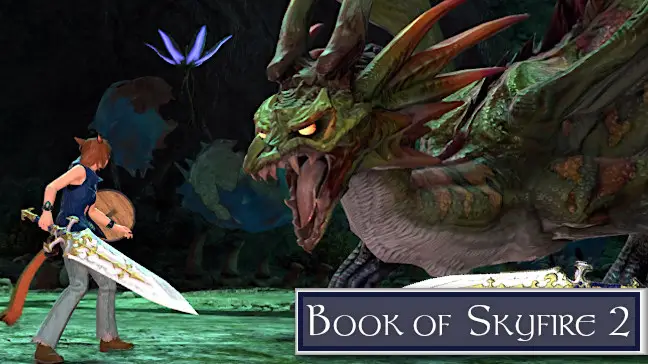
Today we’re going to continue our look at the A Relic Reborn series, with The Book of Skyfire 2 in our sights. You have another gaggle of enemies to defeat and a couple of particularly challenging dungeons to clear. Well, they’re challenging to me – maybe you’re in the 99% of players that show how easy they are to me! Anyhow, you can find all the landscape enemies, FATEs, Leves and Dungeon bosses in this guide, so I hope you find it useful.
Let’s open up the Book of Skyfire II and see what’s in store.
Skyfire 2 or Skyfire II?
Well, the answer is “yes” as they mean the same thing. As there is less of a chance to confuse this one compared to Skyfire 1, I’ll use both as/when it seems to fit.
Hopefully that way I can be useful to more people!
How to Obtain the Book of Skyfire 2
I don’t want to repeat myself across multiple guides. So, in summary, you need to exchange 100×Tomestones of Poetics with G’jusana at Revenants Toll.
If this is not your first Relic Book, then you will have to exchange your current one. Ensure it’s completed before you do else you’ll have to start that one over again in the future. And no-one wants that!
Individual Enemy Hunt
Below you can find all the locations, coordinates and nearest Aetherytes for all the landscape enemy targets. If you want to know more, then use the More → buttons. I didn’t want to copy content across pages. You’re here to clear a relic book, so I wanted you to be able to do it efficiently.
Shush FJ, give them the enemies. Here they are:
Raging Harrier
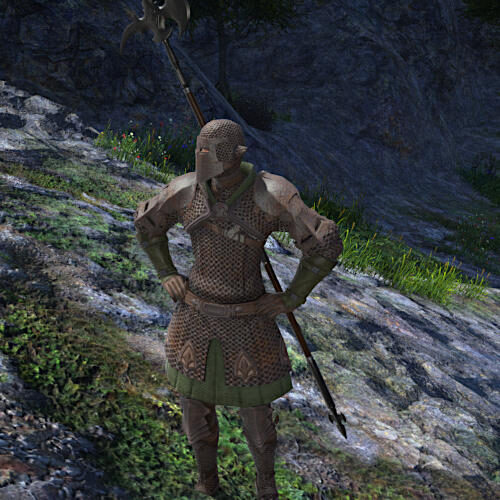
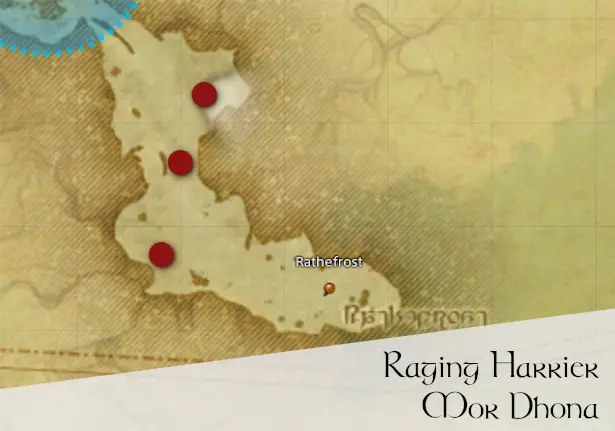
Location Information
- Region: Mor Dhona: Fogfens (Rathefrost)
- Nearest Aetheryte: Mor Dhona: Revenants Toll
Biast
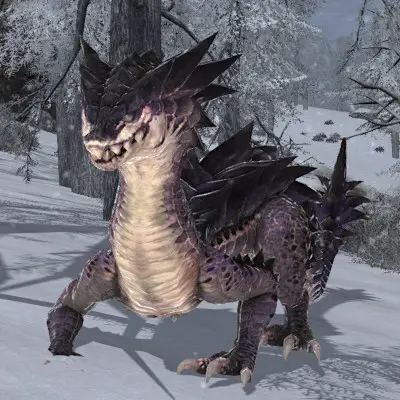
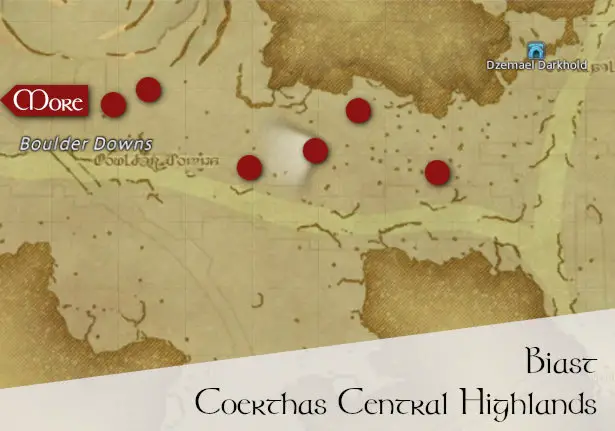
Location Information
- Region: Coerthas Central Highlands: Boulder Downs
- Nearest Aetheryte: North Shroud: Fallgourd Float
Dullahan
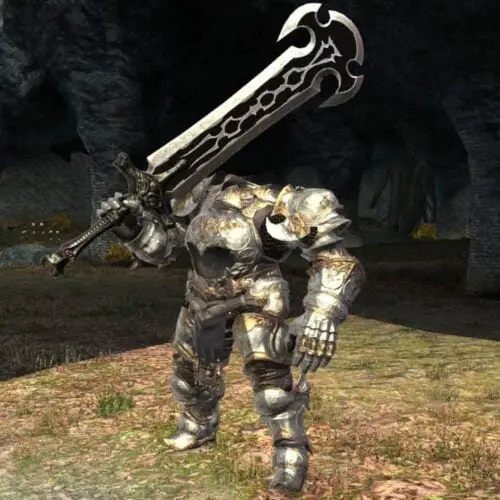
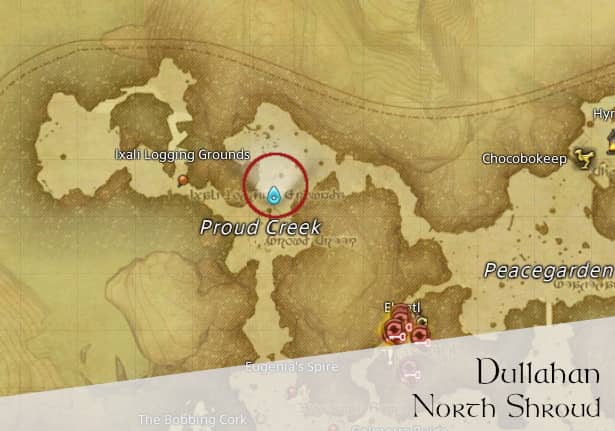
Location Information
- Region: North Shroud: Proud Creek
- Nearest Aetheryte: North Shroud: Fallgourd Float
U'ghamaro Golem
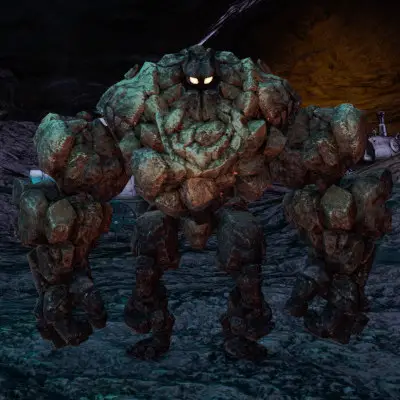
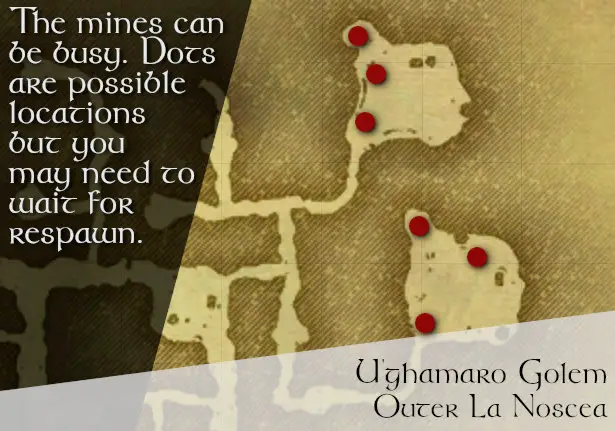
Location Information
- Region: Outer La Noscea: U'ghamaro Mines
- Nearest Aetheryte: Outer La Noscea: Camp Overlook
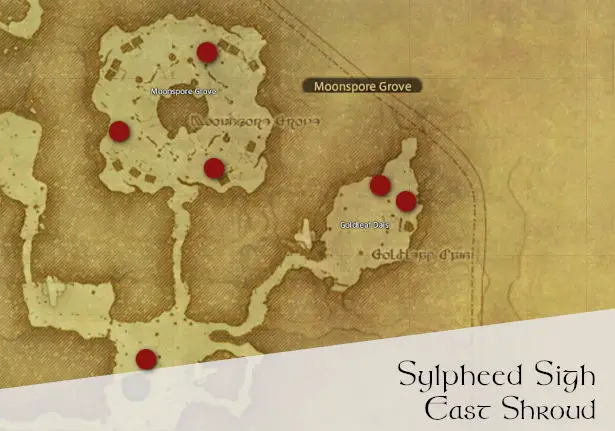
Sylpheed Sigh

Location Information
- Region: East Shroud: Sylphlands
- Nearest Aetheryte: East Shroud: The Hawthorn Hut
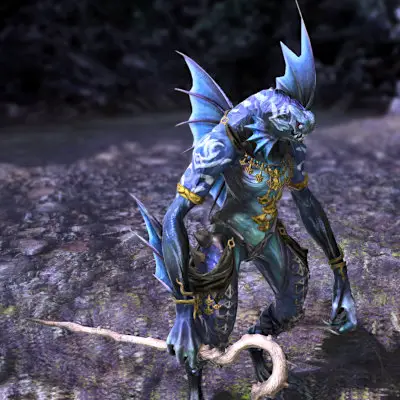
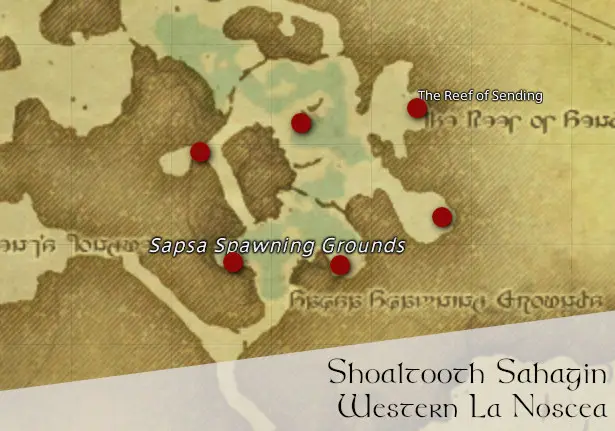
Shoaltooth Sahagin
Location Information
- Region: Western La Noscea: Sapsa Spawning Grounds
- Nearest Aetheryte: Western La Noscea: Aleport
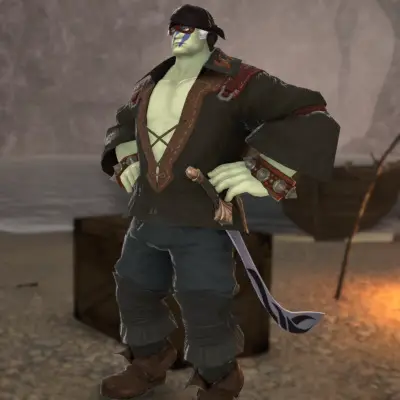
Shelfscale Reaver
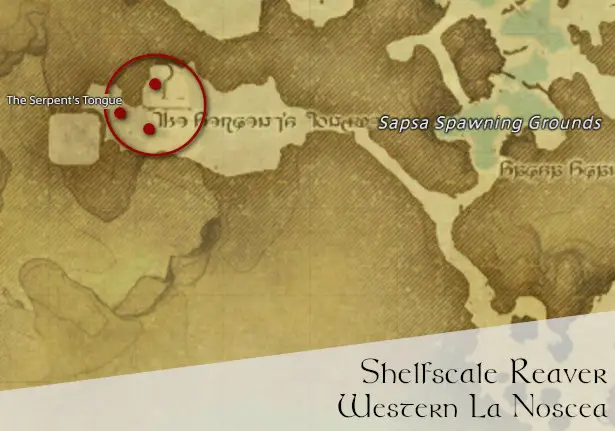
Location Information
- Region: Western La Noscea: The Serpent's Tongue
- Nearest Aetheryte: Western La Noscea: Aleport
Natalan Boldwing
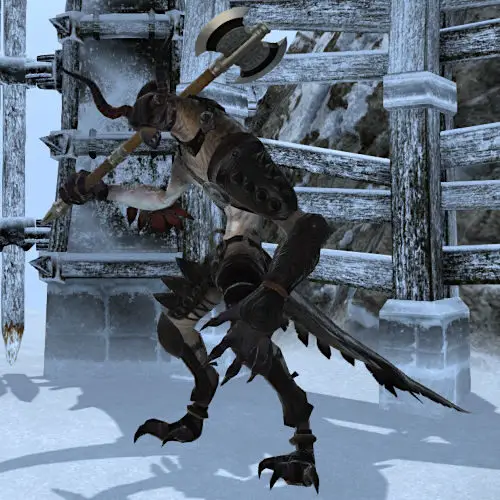
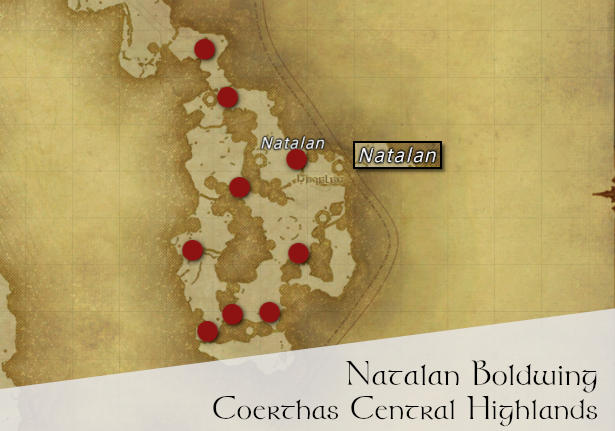
Location Information
- Region: Coerthas Central Highlands: Natalan
- Nearest Aetheryte: Coerthas Central Highlands: Camp Dragonhead
Tempered Gladiator
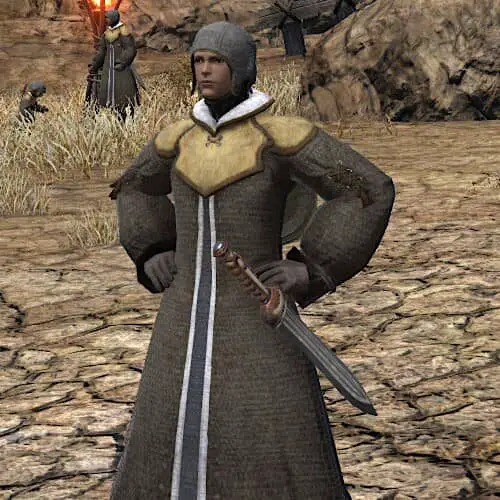
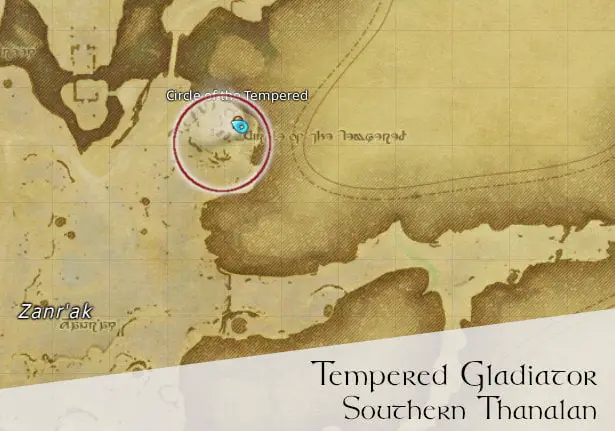
Location Information
- Region: Southern Thanalan: Zanr'ak
- Nearest Aetheryte: Southern Thanalan: Forgotten Springs
Zahar'ak Archer
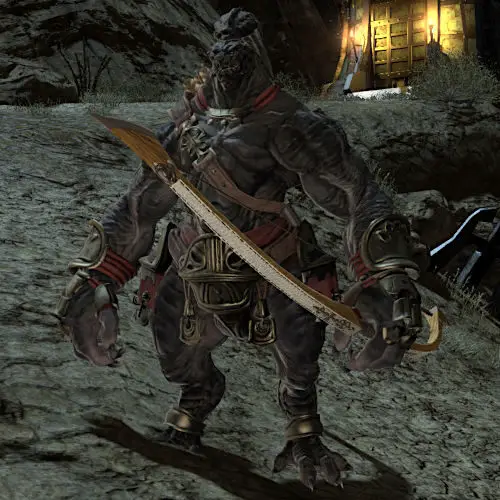
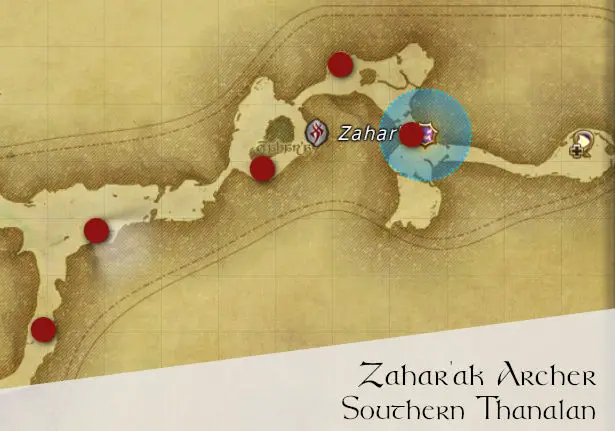
Location Information
- Region: Southern Thanalan: Zahar'ak
- Nearest Aetheryte: Southern Thanalan: Little Ala Mhigo
FATEs
As always, the Book of Skyfire 2 requires you to complete three FATEs. Please remember to have your relic weapon equipped while doing the FATE. Otherwise you’ll have to wait for FATE to strike twice.
The EXP I gained seems to be higher than those recorded by ConsoleGamesWiki. My character only had rested EXP, no other bonuses (including no food), so I can’t account for why mine is nearly three times higher for one of these FATEs.
The FATEs you need are:
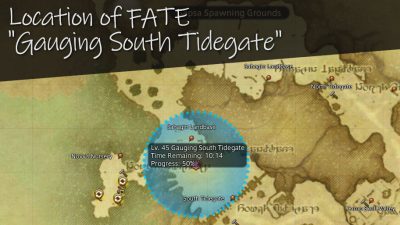
Breaching South Tidegate
Where is the FATE?
- Zone: Western La Noscea
- Nearest Aetheryte: Aleport
- Coordinates: around X:18.5, Y:21.4
FATE Location
Why did I write “Gauging” and not “Breaching”? I’m glad you asked…
Gauging South Tidegate
Note, this FATE follows directly from Gauging South Tidegate![]() . So if you look out for this one, clear it then wait a few seconds for Breaching South Tidegate to commence.
. So if you look out for this one, clear it then wait a few seconds for Breaching South Tidegate to commence.
How this Book of Skyfire 2 FATE Works
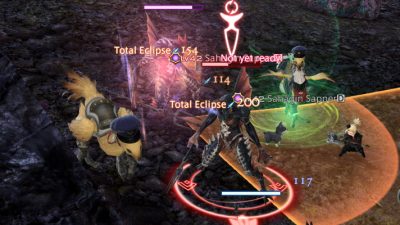
The Gauging one is basically a moshpit of Sahagin, players and Maelstrom NPCs. Keep defeating/slaughtering/dismembering the enemies until the survivors flee. Though those that do are unnervingly satisfied.
Once Breaching kicks in, more Sahagin return, but this time with the enormous leader Mouu the Puller. He is your target and the FATE will end once he is defeated.
If you’re soloing it, you may need to take down some adds for survivability, depending on your class.
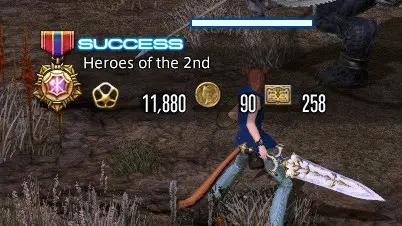
FATE Rewards
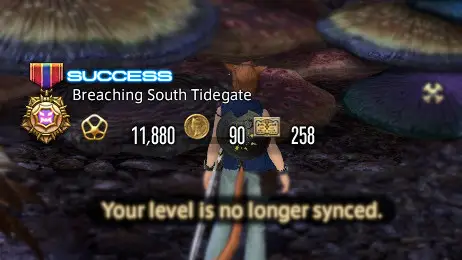
 × 258 Grand Company Seals
 × 90 (Heroism is poorly recompensed…)
 × 11,880 EXP (5,940 unrested
 )
)
Heroes of the 2nd
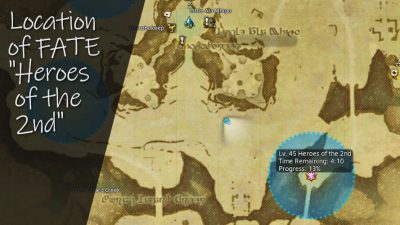
Where is the FATE?
- Zone: Southern Thanalan
- Nearest Aetheryte: Little Ala Mhigo
- Coordinates: around X:21.2, Y:16.9
FATE Location
Watch the Bridge
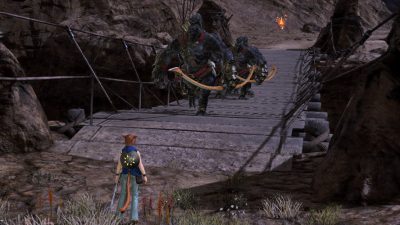
One of the spawn locations for Amalj’aa Archers is the bridge to Zahar’ak. Keep your eyes peeled in both directions!
How this FATE Works
Defeat the Waves
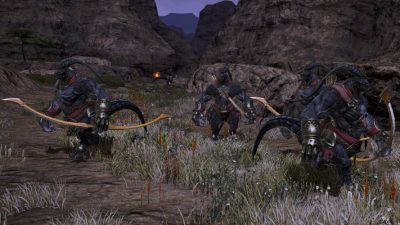
Basically, you need to defeat waves of Amalj’aa. The next group won’t spawn until the previous one has been dismantled.
If you’re the first to arrive at Heroes of the 2nd, then you may find a group of Amalj’aa waiting for you.
Take down that group and look out for which direction the next group spawns.
Be the Last One Standing
This FATE really is a “smash-and-grab” one. Jump in face-first and keep defeating them until the remainder return home.
Air Supply
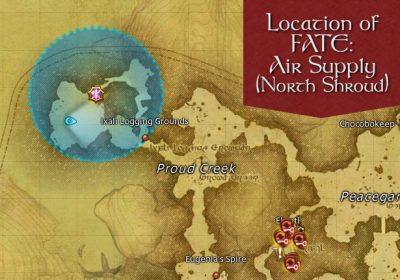
Where is the FATE?
- Zone: North Shroud
- Nearest Aetheryte: Fallgourd Float
- Coordinates: around X:25, Y:23
To save gil, it may be cheaper to port to Gridania and just take the Yellow Serpent Gate (either literally or by Aethernet). Then enjoy a short flight over the North Shroud.
Air Supply is often active because it’s linked to aspects of Final Fantasy 14 such as the Book of Skyfire 2.
FATE Location Map
How It Works
There are a lot of Ixal here (and Watchwolves) and they will attack you. Your targets, however are Airstones and Ixali Swiftbeaks.
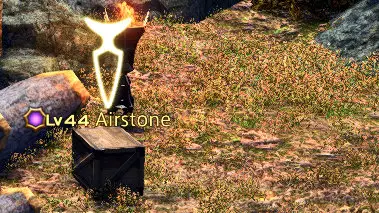
The Swiftbeaks often spawn once you begin attacking an airstone. If you can’t find any more Airstones, focus on Swiftbeaks instead, as you may have missed some spawning while attacking crates.
FATE Rewards
 × 270 Grand Company Seals
 × 94 (spend that extra 4 gil wisely now!)
 × 6,440 EXP
Levequests
You need to complete guildleves from Coerthas, Northern Thanalan and Mor Dhona for the Book of Skyfire 2. These are:
- Don’t Forget to Cry (Northern Thanalan)
- Yellow is the New Black (Coerthas Central Highlands)
- The Museum is Closed (Mor Dhona)
Don’t Forget to Cry
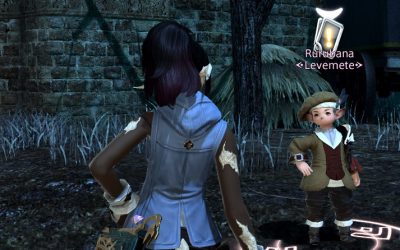
- Quest-giver: Rurubana, Northern Thanalan
- Nearest Aetheryte: Camp Bluefog
I always like revisiting this Lalafell, he’s a breath of realism in the middle of pure despair and over-hyped hope.
How This Leve Works
The basic principle is that you’re laying a trap, or lure, to draw out specific targets. A similar idea is used in other Leves.
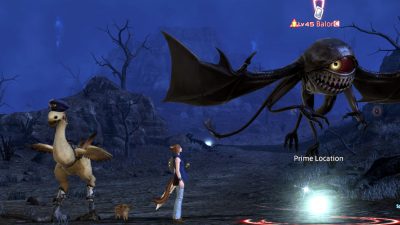
In this case you’re trying to get two Balors.
To lure a Balor you have to:
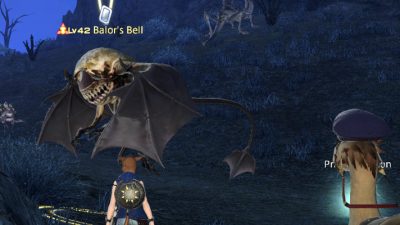
- Defeat Balor’s Bells, which looks like an Ahriman or Floating Eye.
- Collect drop Tears of Nepenthe from them.
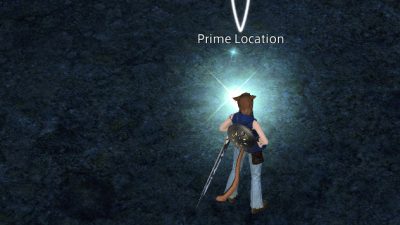
- Use these at brightly-lit Prime Locations.
- If you run out of Tears of Nepenthe before you have completed the levequest, then defeat another Balor’s Bell.
Tip: if you place a Tear and you get the message 'there is no evidence of a Balor anywhere nearby', do not place another tear in that circle on the map. Try a different one.
All in all, Don’t Forget to Cry is a really quick tick on your Book of Skyfire 2. If you’re on-level, there are some wolves in the vicinity, but nothing a Warrior of Light can’t handle, yes?
Yellow is the New Black
- Quest-giver: Lodille, Whitebrim Front
- Nearest Aetheryte: Ishgard (Foundation) or Camp Dragonhead
- Grand Company: Order of the Twin Adder
How this Book of Skyfire II Leve Works
You are given five minutes and the names of three different enemies. To merely pass the leve, you have to defeat one of each. Your reward scales up the more enemies you take down in those five minutes, however.
Reminder: do make sure you're equipped with your Relic Weapon for the levequest!
The enemies you need are:
- 1 × Blizzard Biast
- 1 × Snowpuppy
- 1 × Frostbitten Goobbue
Note: these enemies do not exist on any other Hunting log, unfortunately!
Blizzard Biast
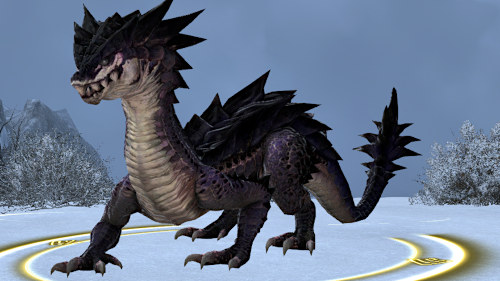
Coerthas already has plety of Biasts, but specialist Blizzard ones come out to play for this leve.
Lucky you.
Snowpuppy
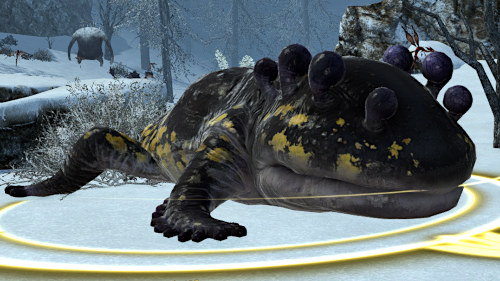
Like a Mudpuppy, but in the snow.
Only on top of the snow, because the soil underneath would be mud…and “Muddy Snowpuppy” is confusing. Moving on…
Frostbitten Goobbue
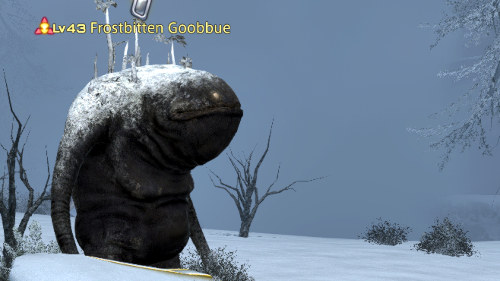
Astonishingly similar to the Highland Goobbue and the Snowstorm Goobbue, only this one hasn’t acclimatised in the five years since the Calamity.
The Museum is Closed
- Quest-giver: Eidhart, Saint Coinach’s Find
- Nearest Aetheryte: Revenant’s Toll
- Grand Company: Immortal Flames
Questgiver
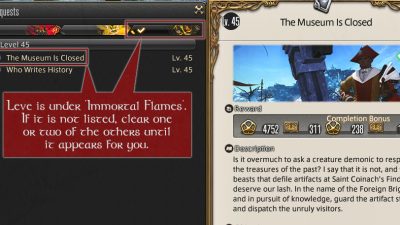
Finding the Leve
How this Leve Works
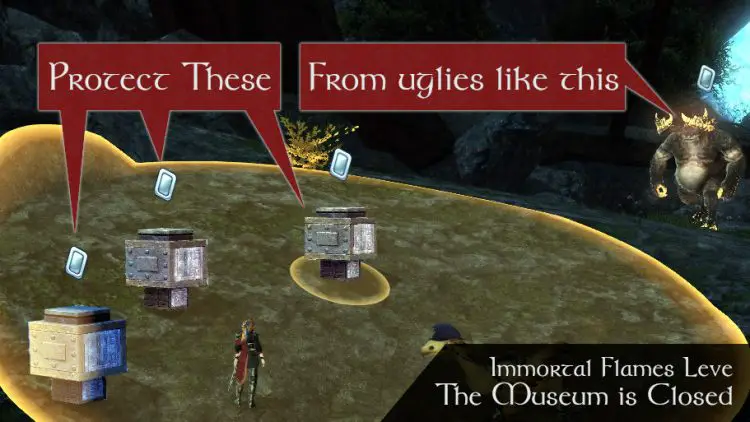
This leve is a bit different to the others in that it is like a defence FATE.
You are to protect relics from an onslaught of voidsent and rampaging critters. While you do have a list of enemies to defeat – and how many of them – you cannot control that.
Don’t worry, all those will come to you. Those that don’t will target your crates. You and/or your chocobo must play tank and turn the focus on yourself!
My Key Tips
- Keep your eyes peeled on the radar/minimap between waves of enemies and run to their position before they come to yours.
- Try to grab the aggro of all enemies in the wave before worrying about defeating them.
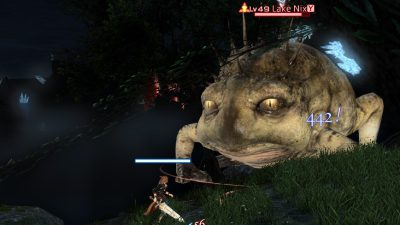
- The “boss” is a Lake Nix with a large circular AoE as all, Gigantoad-like enemies do. Draw it away from your crates. If you normally have your Chocobo in Tank stance, put it on Heals until you’re safe distance away.
Dungeon Enemies
As is the case for this stage of the ARR Relic/Zodiak Weapon series, your enemies are bosses.
My current character doing an ARR relic is between L50 and L60 so doing it unsynced is asking for defeat. If you are doing this one well after L60, you can probably solo these unsynced. It will be certainly easier than Skyfire 1, where one of the bosses could eat you!
Aiatar
Dungeon: Brayflox’s Longstop![]() (Normal)
(Normal)
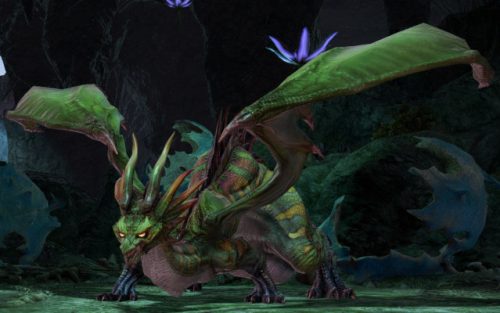
You encounter Aiatar twice in this dungeon. Well, three times if you count the initial cutscene. But the dragon appears near the end of your fight with Hellbender, the huge Salamander that is the penultimate boss.
I say it “appears” – it basically squashes the Salamander. Squelch.
Anyway, in both encounters, Tanks must turn Aiatar from the group as the dragon spouts pretty awful DoTs in a straight line with its Dragon Breath attack.
Soloable?
Brayflox’s Longstop is available both with Duty Support and Grand Company Squadrons.
It works fine in both cases, but it’s usually quicker with Squadrons.
Tonberry King

Dungeon: The Wanderer’s Palace (Normal)![]()
I’ll say this straight up: I hate the Wanderer’s Palace. It’s really bad for my nerves and I still can’t do the Oil-for-Gears stage in any efficient manner!
When it comes to the Tonberry King, the group must try not to kill any of the adds. Use single target attacks except where the tank needs to grab aggro away from other group members.
Bless you if you’re the healer at this boss though!
Soloable?
The Wanderer’s Palace (Hard) is an option in Grand Company Squadrons and is how I cleared mine. But that was a fear of tanking because you’re supposed to know where you’re going when you tank!
That aside, it’s easier with real people, especially if you get a decent healer.
Ouranos is arguably the easiest boss of Copperbell Mines (Hard). Sure, there are adds and the Sandworm to avoid, but other than that it’s just “hit and run”.
The other giants that spawn do break through the rocks, though, so ensure these adds make it to the tank as quickly as possible. That’s my little bit of input anyway, I’m not experienced enough at tanking or healing to give too much strategic advice!
Soloable?
This dungeon is available with your Grand Company Squadron. But the other two bosses are by far easier with real people.
Exchange Your Book of Skyfire II, or?
As with the other books, if you have not completed all the Zodiak Brave books, then you need to return to Mor Dhona to exchange this book with another.
If you have completed all the books then you need to return to Jahlzahn in the North Shroud (not far from Gerolt) to complete the relic weapon upgrade.
TL;DR Enjoy Your +2 Bonus with the Book of Skyfire 2…or something.
The ARR Relic books can feel quite a slog, but I’m not sure they are. It’s just how many of them taken as a whole that you have to complete. So don’t overdose on this stage! The Book of Skyfire II – as with all of them – is a good variety of enemy types, quest mechanics and dungeons.
Use the enemies stage as a relaxing flight around Eorzea before you leap into FATEs of dungeons. I hope this second relic book guide was useful and I’ll see you soon for the next one. However you enjoy FFXIV, do that – and help others to enjoy it too.
