Post Sections ⇅
- “Skyfire I” or “Skyfire 1”?
- Obtaining the Book of Skyfire 1
- Individual Enemy Hunt
- FATEs
- Levequests
- Dungeon Enemies
- Turn In Your Completed Book
The Book of Skyfire 1 is one of the so-called Relic Books in Final Fantasy 14. It’s called that as it is an actual book containing enemies you need to take down to improve the relic weapon you work on at the end of A Realm Reborn.
While some foes here will be familiar, others have not appeared in class or Grand Company logs. So here are all the enemies and their locations so you can complete the FFXIV Book of Skyfire 1.
“Skyfire I” or “Skyfire 1”?
For simplicity here, I’m going to mostly use the modern numeric version (“Skyfire 1”), rather than the Roman numeral (“Skyfire I”). That’s to save me – and possibly you – getting confused reading an “I” mid-sentence where it may or may not mean the number one!
Obtaining the Book of Skyfire 1
I figured I’d answer this firstly for new players and secondly for those running more than one relic and getting progress on the two muddled up. Like a certain friend I know.
When You Can Get Relic Books
This stage follows on from successfully forging your Atma weapon. Next you turn your focus to creating your Animus weapon. And that is where your relic books come in.
Where You Get Them From
All the books for the Trials of the Zodiak Braves can be obtained from the Miqo’te NPC G’jusana.
She can be found at Revenant’s Toll in Mor Dhona (at X:23, Y:7.3). The Book of Skyfire 1 costs 100×Tomestones of Poetics.
Even if you can afford multiple relic books, you can only have one active at a time.
Once you have completed all objectives in The Book of Skyfire 1, you can take out another one.
NB: If you’ve done a relic or two before this one, note you do not have to complete the books in any order. This way you can mix things up a bit to suit you.
Individual Enemy Hunt
As with other hunts, part of each book is to take out a number of on-landscape enemies. These ones are not related to FATEs.
How You Know You’ve Done Enough
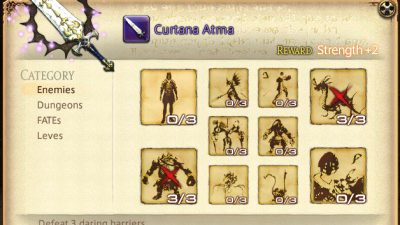
Once you have cleared enough enemies of a type, the picture of that foe will have a red cross through it.
Also, the little symbol over that enemy type’s head will vanish.
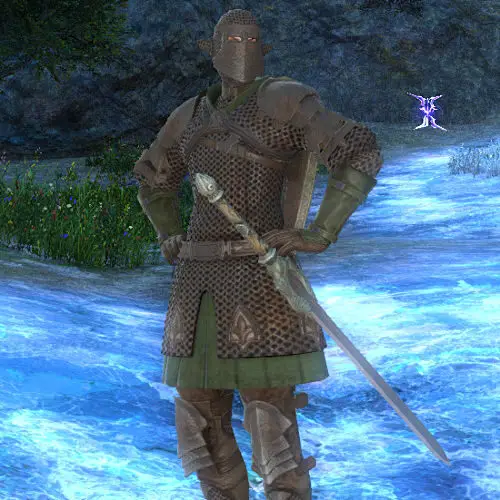
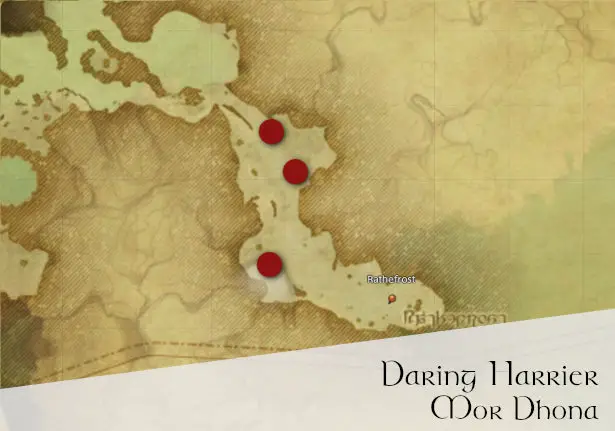
Daring Harrier
Location Information
- Region: Mor Dhona: Fogfens (Rathefrost)
- Nearest Aetheryte: Mor Dhona: Revenants Toll
5th Cohort Vanguard
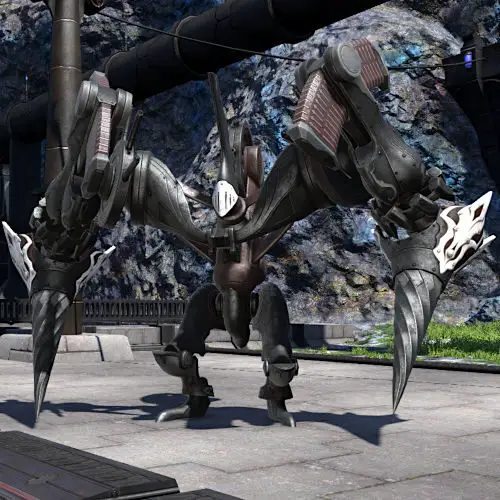
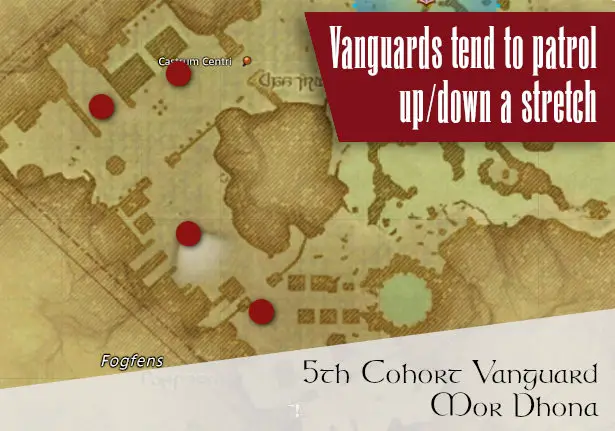
Location Information
- Region: Mor Dhona: Fogfens/Castrum Centri
- Nearest Aetheryte: Mor Dhona: Revenants Toll
4th Cohort Hoplomachus
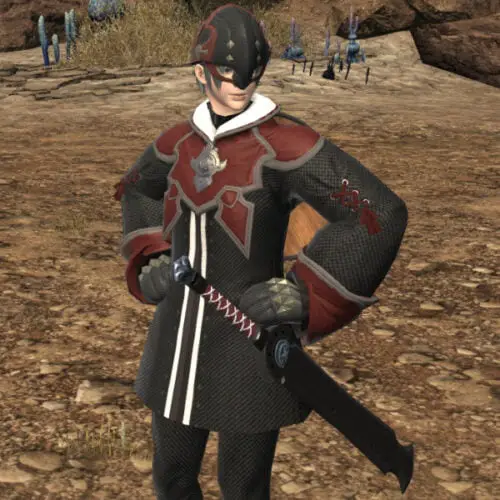
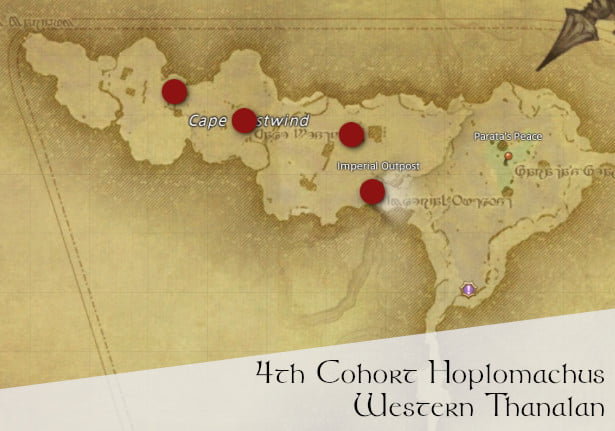
Location Information
- Region: Western Thanalan: Cape Westwind
- Nearest Aetheryte: Western Thanalan: Horizon
Basilisk
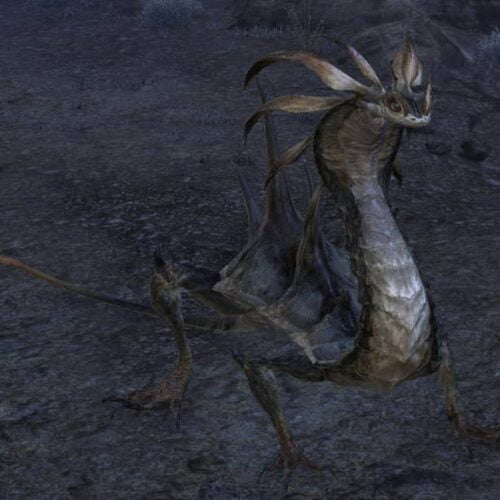
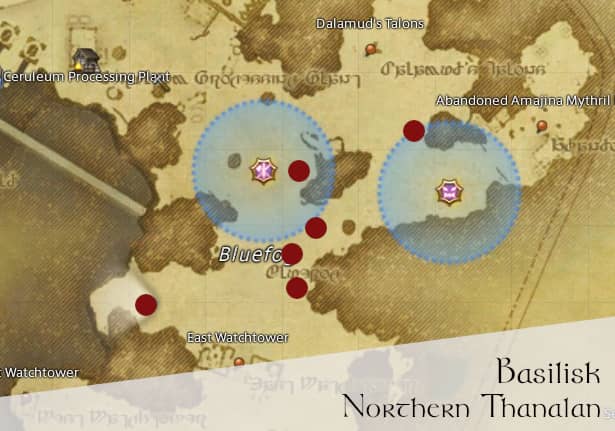
Location Information
- Region: Northern Thanalan: Blue Fog
- Nearest Aetheryte: Northern Thanalan: Ceruleum Processing Plant
Zanr'ak Pugilist
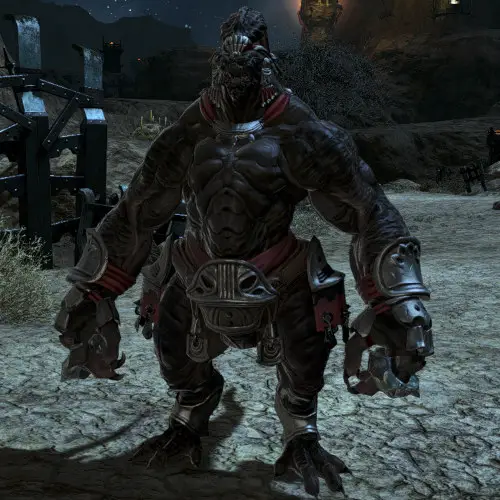
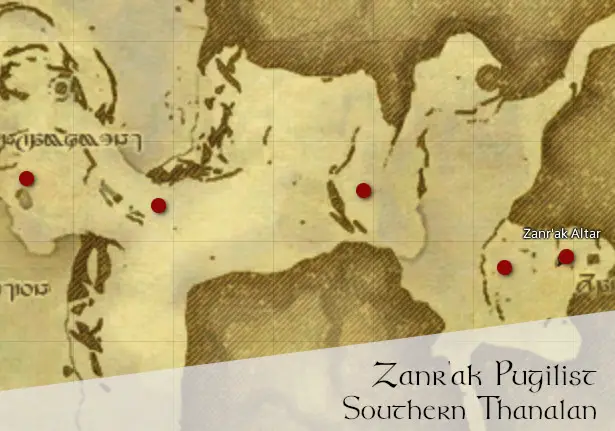
Location Information
- Region: Southern Thanalan: Zanr'ak
- Nearest Aetheryte: Southern Thanalan: Little Ala Mhigo
Milkroot Cluster
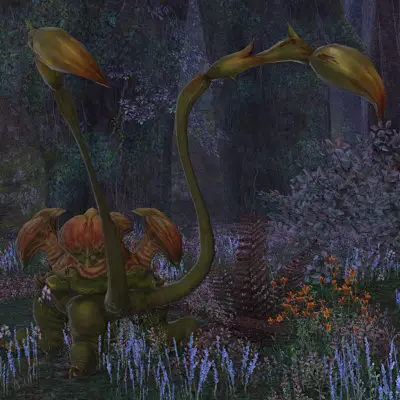
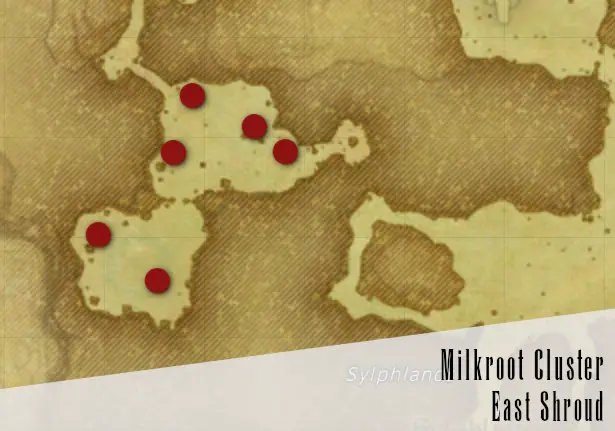
Location Information
- Region: East Shroud: Sylphlands
- Nearest Aetheryte: East Shroud: The Hawthorn Hut
Giant Logger
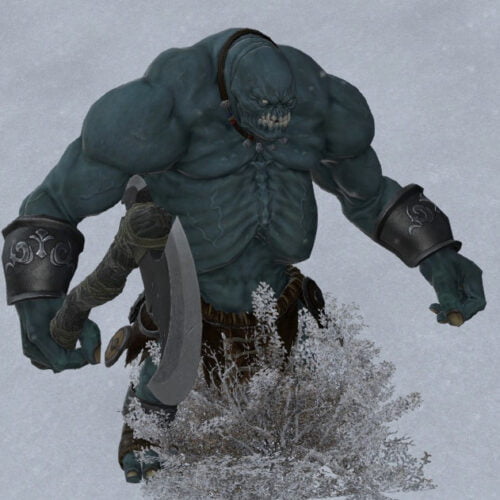
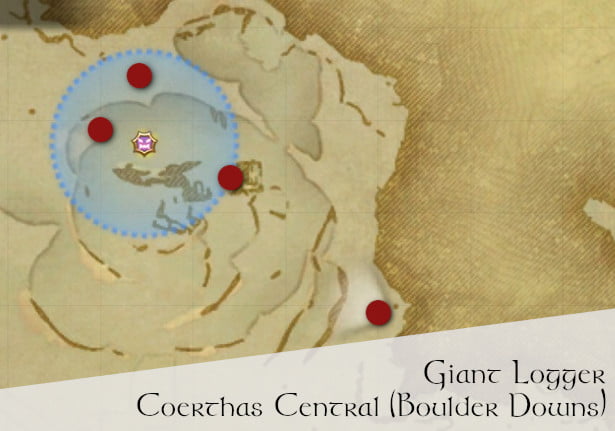
Location Information
- Region: Coerthas Central Highlands: Boulder Downs
- Nearest Aetheryte: North Shroud: Fallgourd Float
Synthetic Doblyn
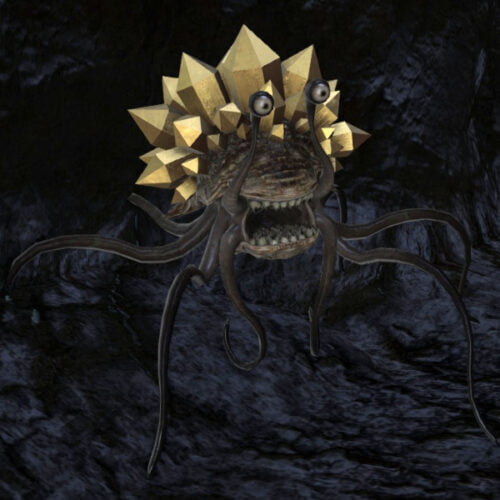
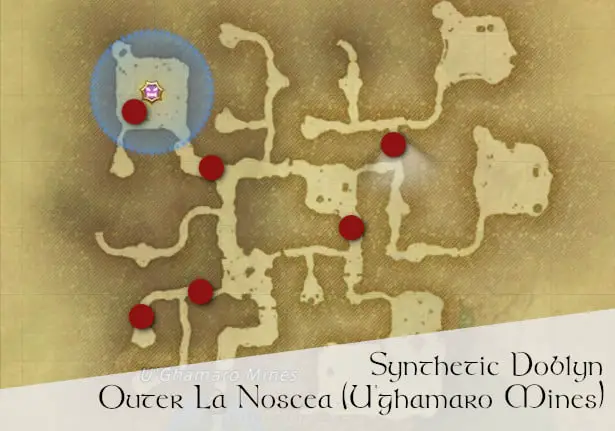
Location Information
- Region: Outer La Noscea: U'ghomaro Mines
- Nearest Aetheryte: Outer La Noscea: Camp Overlook
Shoalspine Sahagin
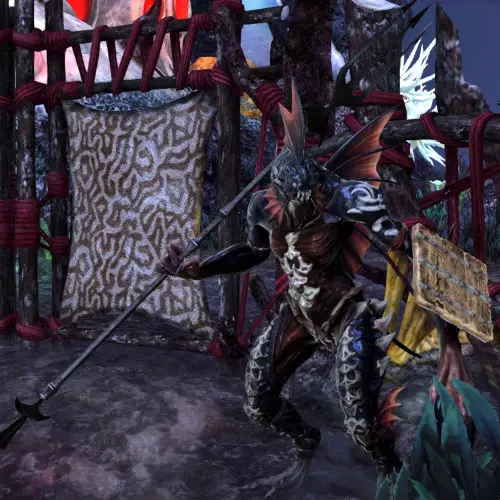
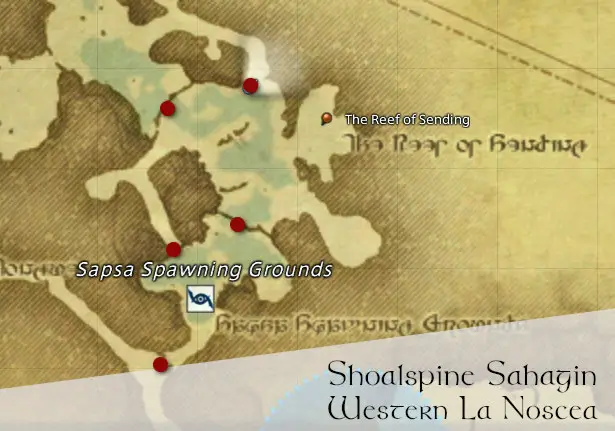
Location Information
- Region: Western La Noscea: Sapsa Spawning Grounds
- Nearest Aetheryte: Western La Noscea: Aleport
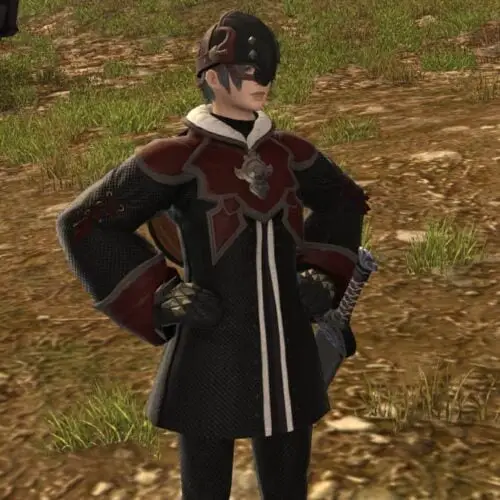
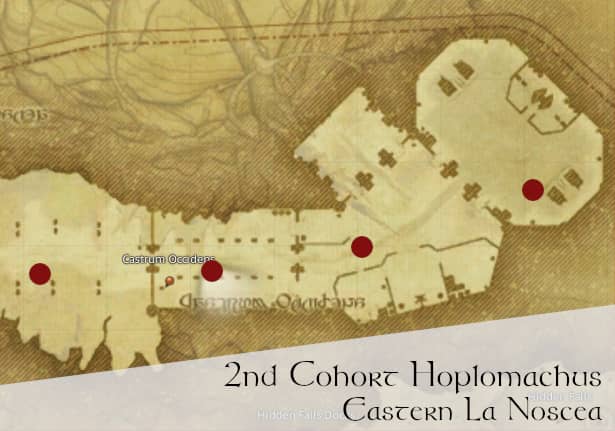
2nd Cohort Hoplomachus
Location Information
- Region: Eastern La Noscea: Agelyss Wise
- Nearest Aetheryte: Eastern La Noscea: Wineport
FATEs
Some of your objectives for the Book of Skyfire 1 are in FATEs. Two of them are just ![]() “Notorious Monster” battles, but I have outlined more about The Enmity of my Enemy. Here’s where you can find these.
“Notorious Monster” battles, but I have outlined more about The Enmity of my Enemy. Here’s where you can find these.
- Giant Seps
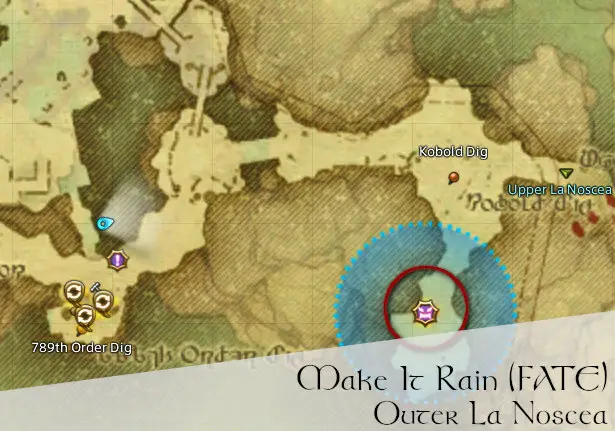
- Make It Rain (FATE)(Not to be confused with the Make It Rain Campaign!)
- The Enmity of My Enemy
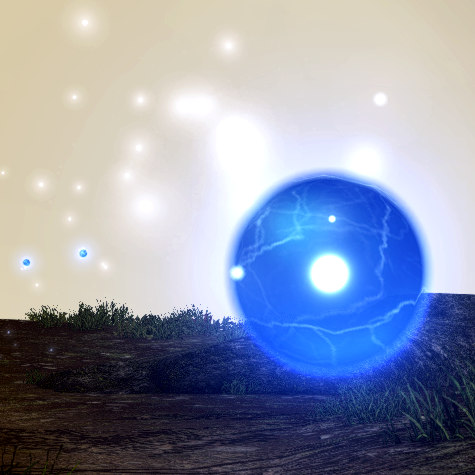
Brounger
Location Information
- Region: Outer La Noscea: Iron Lake
- Nearest Aetheryte: Outer La Noscea: Camp Overlook
Seps
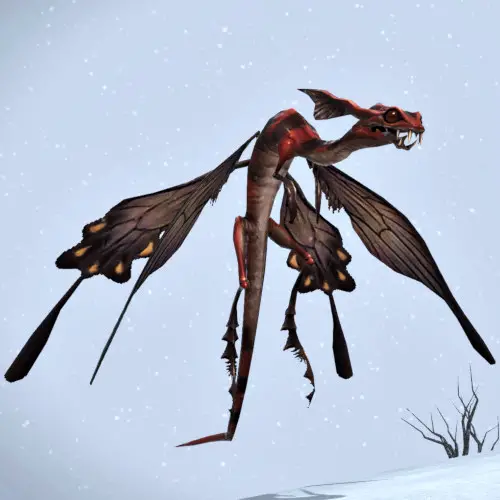
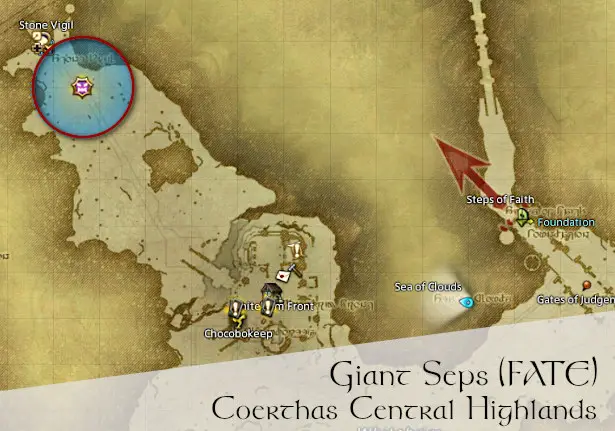
Location Information
- Region: Coerthas Central Highlands: Whitebrim
- Nearest Aetheryte: Coerthas Central Highlands: Camp Dragonhead
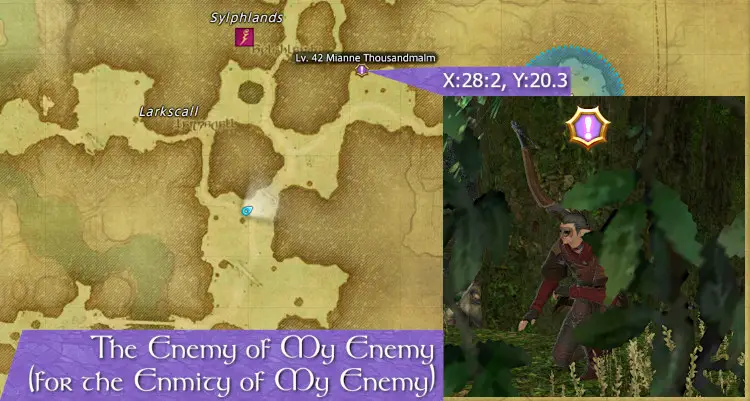
 The Enmity of My Enemy
This rather chaotic FATE takes place in Larkscall in the East Shroud. There are a few pointers you should be aware of:
- It is a Follow-On:
The Enmity of My Enemy follows on from the FATE The Enemy of My Enemy
 . Therefore the first FATE needs to be cleared to trigger the one you want.
 - The FATE is Manually Triggered
The Enemy of My Enemy is triggered when a player completes a short dialogue with the Wood Wailer Mianne Thousandmalm - Larkscall is Full of Enemies
This FATE spawns a fair few of its own, but level sync will draw other non-FATE NPCs as well. If you’re on your own, keep the heat from your chocobo and the NPC with AoEs. Set “tank mode” if you are a tanking job.
Tip
You do not have to wait for The Enemy of My Enemy to progress. You can jump into the fight between tempered Sylphs and Imperial soliders. While the Sylphs will attack you, it’s the Garlean forces that count towards that FATE’s completion.
Where is Mianne Thousandmalm?
You can find him in the Larkscall area of the East Shroud at (X:28.2, Y:20.3). He is under a low-lying branch, bravely looking a fight he’d like to avoid.
Look for the FATE trigger symbol ![]() rather than a blue circle when seeing whether it’s on or not!
rather than a blue circle when seeing whether it’s on or not!
Levequests
All the relic books require you to complete specific leves. The ones for the Book of Skyfire 1 are below.
Tip: If you cannot see your leve listed, complete other ones first then return to the Leve NPC
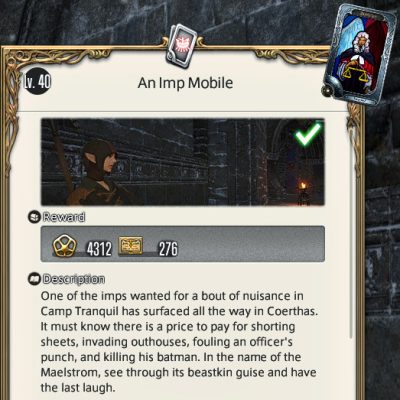
An Imp Mobile
Where Is the Leve?
Speak to the Grand Company Levemete at Whitebrim Front.
You can find this particular levequest in The Maelstrom’s list.
Leve Quest Info
Leve Walk-through
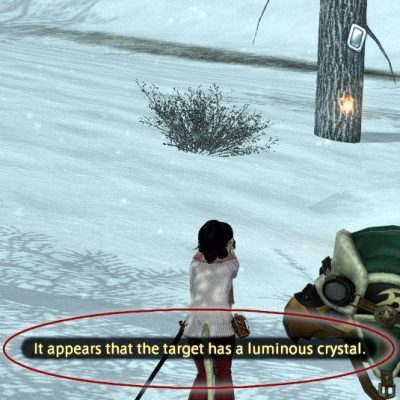
First seek out the Wandering Wisps. Then use the /poke emote on them.
You will be told if it is carrying Luminous Crystals.
Tip: if you’re massively over-leveled, just defeat any/all of them.
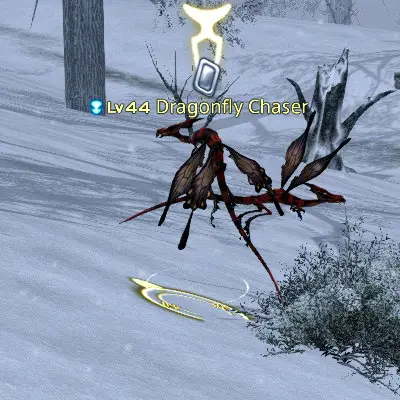
Next, find Leve-related Dragonfly Chasers. Not all Dragonflies have the leve symbol.
Target one of the Chasers, and click your “Luminous Crystal” icon in your quest tracker.
Tip: if you run out of Luminous Crystals, go defeat more Wandering Wisps.
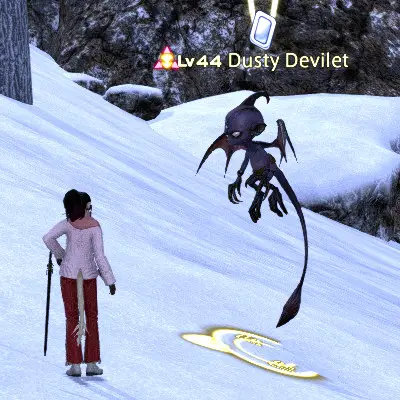
Some Dragonfly Chasers become Dusty Devilets. You will need to find and defeat two Devilets to finish the Levequest.
Tip: mentally note which Dragonflies are not Imps. It is not done by RNG, so if a Dragonfly is not one during the leve, it never is (on this leve run, anyway).
The Awry Salvages
Where to Get the Leve
This one is picked up from the Grand Company Levemete in Mor Dhona.
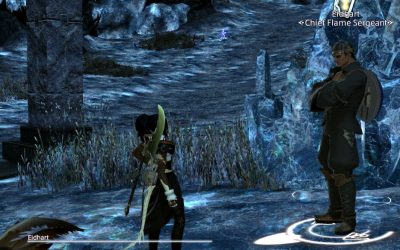
Eidhard is at X:30.7, Y:12.1, or more easily – Saint Coinach’s Find in the Eastern portion of Mor Dhona.
How It Works
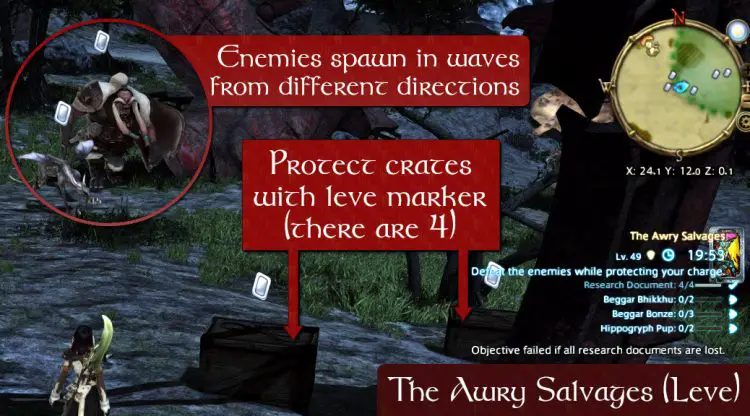
The Awry Salvages is a defence Levequest. As such, it only lasts as long as it takes you to defeat all the enemies in the list.
You have five crates to protect. But only one needs to survive for you to pass the leve. To be honest, it should never get that bad, and here’s why:
The enemies spawn in “batches”, so one “batch” won’t appear until the previous one has been defeated. Keep your eye on the minimap/radar/whatever – and intercept them before they reach the crates. It’s not always possible, but it usually is.
Tip
- Turn the enemies away from the crates. If you’re a tank, then this should be natural to you – but it’s not always obvious to non-tanks. By turning them, their linear AoEs target you and not the crates.
- Some enemies have circular AoEs, so try drawing them away from the crates to engage them. Or intercept them, as I said.
Necrologos: Pale Oblation
Whoopeee, more bits of the banned-yet-surprisingly-widely-circulated Necrologos series!
Where to Get the Leve
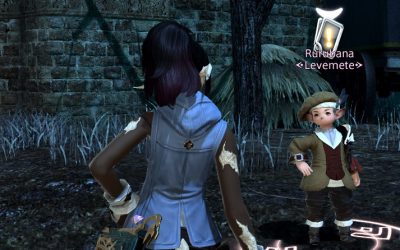
The latest void-riddled joy can be found at one of my favourite Levemetes. Rurubana could not hide his dislike of his job any less if he tried. But he doesn’t try!
Anyhow, he is at Camp Bluefog in Northern Thanalan.
Note: unlike the previous two, Necrologos: Pale Oblation is a standard Leve, so it doesn’t come from a Grand Company Levemete.
Pale Oblation: Walk-through
In the event that you’ve somehow made it to the Book of Skyfire 1 without ever picking up a “blessèd” Necrologos Tome, here’s the walk-through.
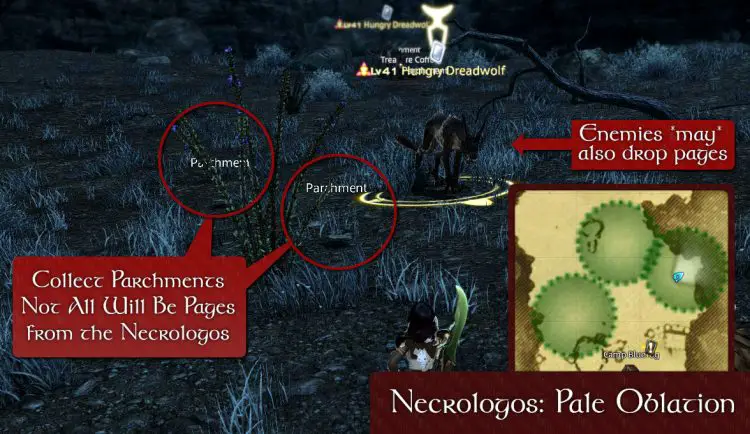
Before starting this leve, turn on nameplates for items - set it to 'always'. It will make finding the parchments on the ground a lot easier.
Find Pages of the Necrologos
There are various parchments on the ground. Some of these may be pages from the Necrologos. Some won’t be.
You may also find that the wolves are – how to say – “Carrying” pages of the book. You have to kill them to find out whether they are or not. You can decide on how/where/why they have these pages.
Defeat Final Voidsent
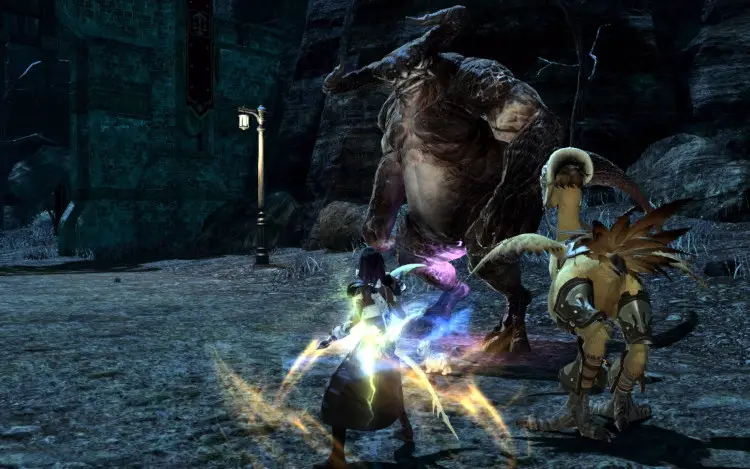
Once you have found the final page, it will spawn this Voidsent. So wherever you find the last page, that’s where the “boss” of the leve will appear.
Defeat it and return to Rurubana to be richly compensated. Well, have a few gil chucked your way.
Dungeon Enemies
When it comes to Dungeons in the Book of Skyfire 1, these always relate to bosses. For this book, they are all end-bosses too. I think one of the books may have a second-to-last in it, but not this one!
Vital: Use Your Relic Weapon!
I’ll save you some pain and annoyance as I’ve incurred both for you! Make sure it is your relic weapon you have equipped for the relevant boss fight. You can use any weapon up to that encounter, but it won’t count for the Book of Skyfire 1 if you don’t use your relic weapon for the named boss.
In my case, it means using the correct weapon for the whole dungeon due to forgetting stuff like that!
Diabolos
Dungeon: The Lost City of Amdapor
Unlock Quest: One Night in Amdapor![]()
Hints
- I would not advise soloing this using Unrestricted Party. If the first boss (the aptly-named Decaying Gourmand) eats you, you’re KO’d. So if you want to do it Unrestricted, just take a friend for insurance.
- I won’t try to explain the mechs of this boss. They’re explained here instead
 . Read that because I always freak out and get it wrong!
Galvanth the Dominator
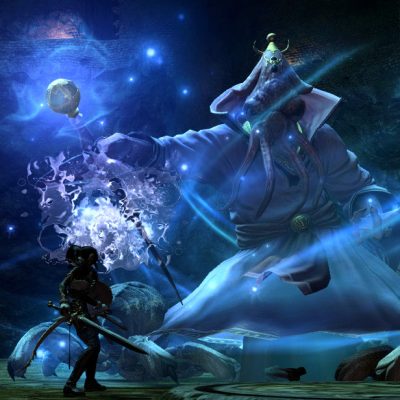
Dungeon: The Tam-Tara Deepcroft
Hints
- This dungeon is soloable at Level 50, with the Unrestricted Party setting.
- Make sure you look for the Inconspicuous Imps spawning. Take them out ASAP because Galvanth is invulnerable until you do.
Isgebind
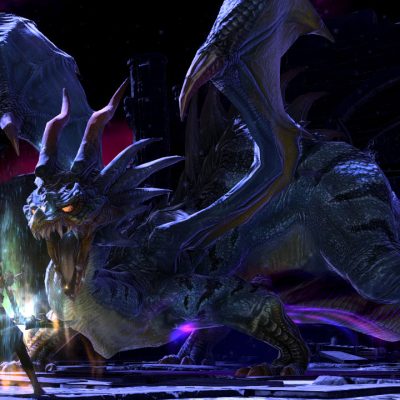
Dungeon: The Stone Vigil
Hints
- This is a relatively easy boss fight. Healers should be aware of the AoE Rime Wreath that deals party-wide damage.
- When Isgebind flies out of the area, watch for the glowing floor and move away from that strip. You’ll get a debuff and damage if you get caught in it.
- The cutscene before the fight is long. If someone needs to watch it, don’t hurry them into finishing it early. We were all new once.
Turn In Your Completed Book
Once you have completed the Book of Skyfire 1, return to Mor Dhona. If you have more Trials of the Zodiak Braves to do, then pick up the next one.
If this relic book was your last then it stays in your key items. It can be safely disposed of, but I would wait until you have your new Animus Weapon in-hand before doing so. I’m somewhat risk-averse!
TL;DR Complete the Book of Skyfire 1 and Improve Your Relic
The Book of Skyfire 1 is just one of the Trials you must complete for your Animus weapon. And this stage is still one of many more remaining.
Unless you can hyperfocus, clearing parts of this around other questing will ease the pain of repetition a bit. Otherwise, enjoy the journey! Even for the relative age of the Zokiak Weapons series, the weapon appearances are still beautiful.
Next: Book of Skyfire 2 →
