Post Sections ⇅
How to Obtain the Book of Netherfire I
As with the other so-called “Relic Books”, you can exchange 100×Tomestones of Poetics for the Book of Netherfire I. I would like to (re-)remind you that, if you’re holding a copy of a different volume of the Zodiak Braves, it will be removed. So make sure it’s cleared before you confirm your Netherfire purchase.
Possible Tips
- One thing I like to do with these books is, whichever set of objectives I complete the book on, do the Mor Dhona bit last. That way, you’re already in the vicinity of Revenant’s Toll to swap out your active book.
- Another approach is to group them by principality: La Noscea, the Black Shroud, Thanalan and Mor Dhona.
- If you do the dungeons first or last, then use some Priority Aetheryte tickets (from your Adventurer Squadron), or Free Company Reduced Rates buff to cut the cost of all that Aetheryte travel.
Individual Enemy Hunt
Here’s the usual gaggle of enemies you’re used to, along with a map on where to find them. Each has an individual page where you can find more information and targets from other hunting logs nearby.
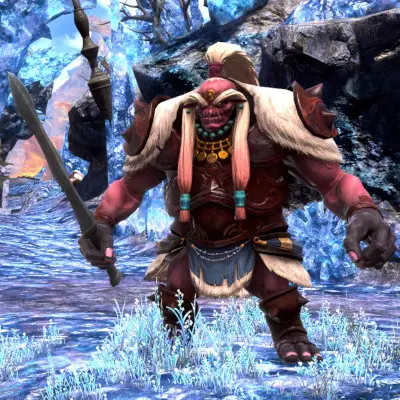
Hexing Harrier
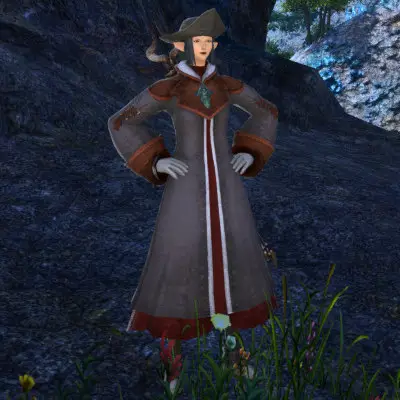
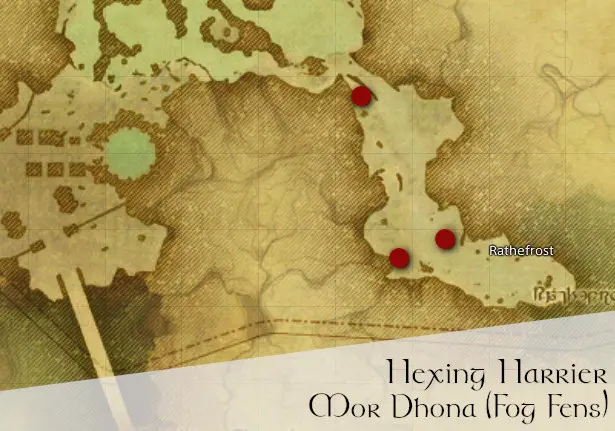
Location Information
- Region: Mor Dhona: Fogfens (Rathefrost)
- Nearest Aetheryte: Mor Dhona: Revenants Toll
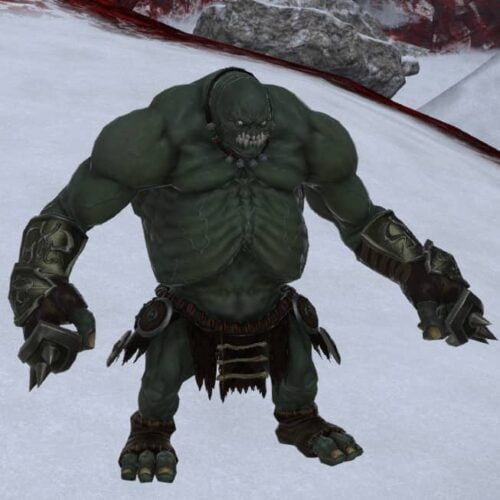
Gigas Bonze
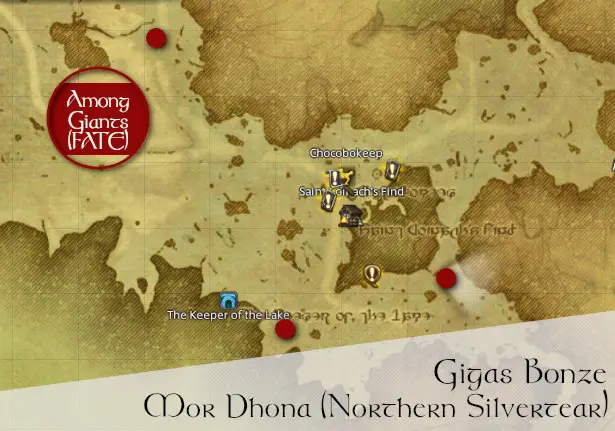
Location Information
- Region: Mor Dhona: Northern Silvertear
- Nearest Aetheryte: Mor Dhona: Revenants Toll
Giant Lugger
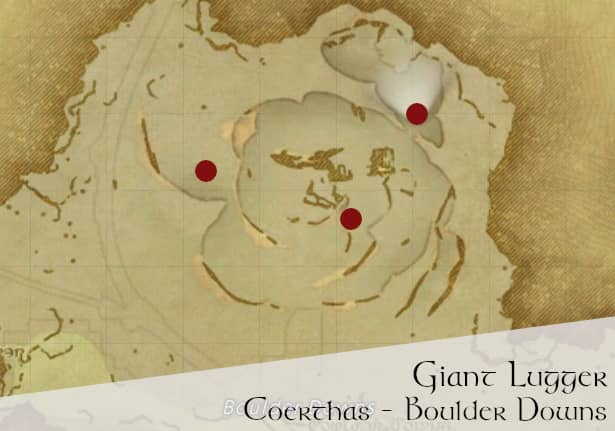
Location Information
- Region: Coerthas Central Highlands: Boulder Downs
- Nearest Aetheryte: North Shroud: Fallgourd Float
Wild Hog
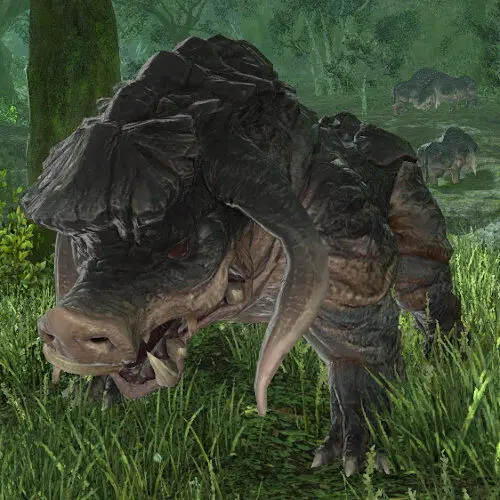

Location Information
- Region: South Shroud: Urth's Gift
- Nearest Aetheryte: South Shroud: Quarrymill
Sylpheed Screech
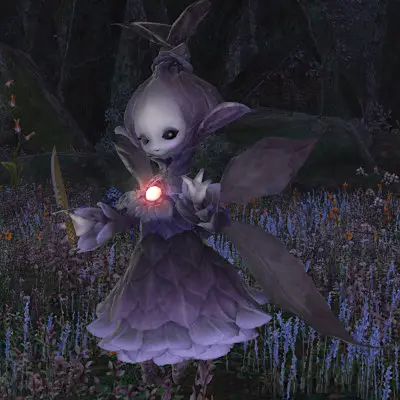
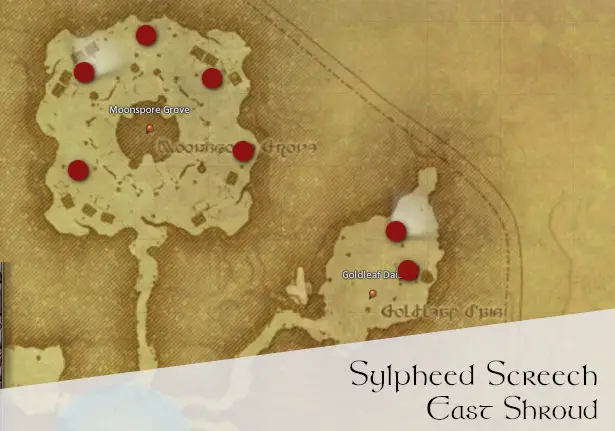
Location Information
- Region: East Shroud: Sylphlands
- Nearest Aetheryte: East Shroud: The Hawthorn Hut
U'ghamaro Roundsman
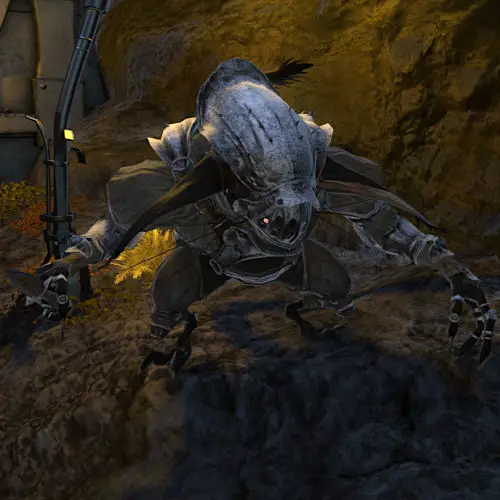
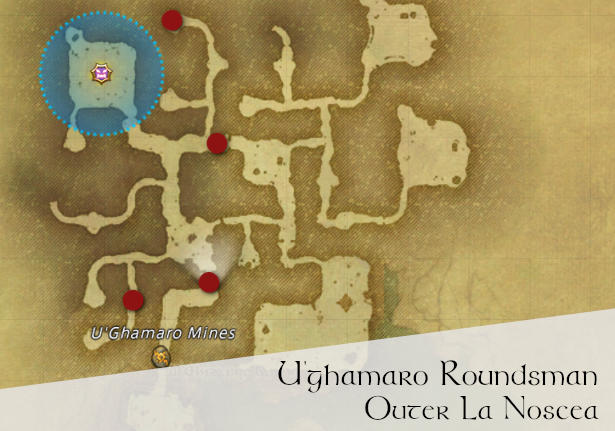
Location Information
- Region: Outer La Noscea: U'ghamaro Mines
- Nearest Aetheryte: Outer La Noscea: Camp Overlook
Shelfclaw Reaver
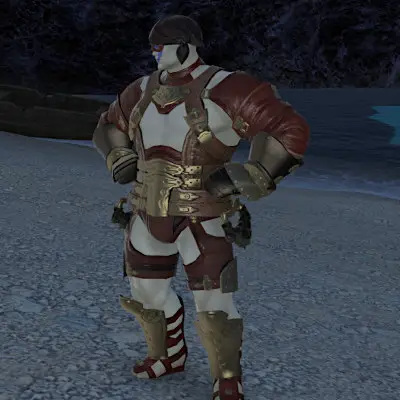
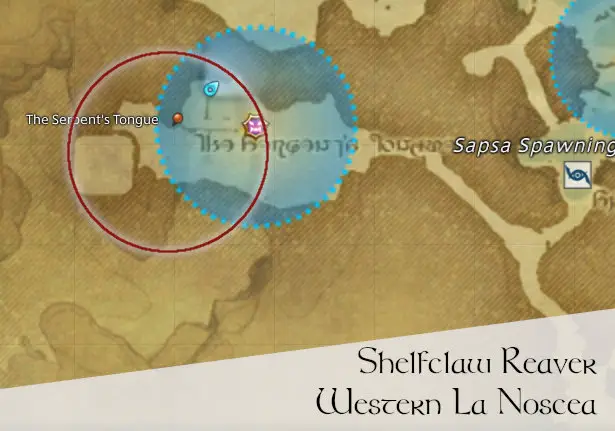
Location Information
- Region: Western La Noscea: The Serpent's Tongue
- Nearest Aetheryte: Western La Noscea: Aleport
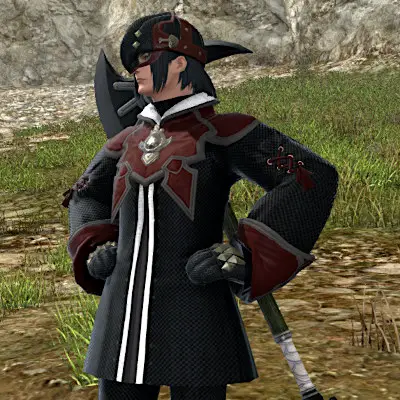
2nd Cohort Laquearius
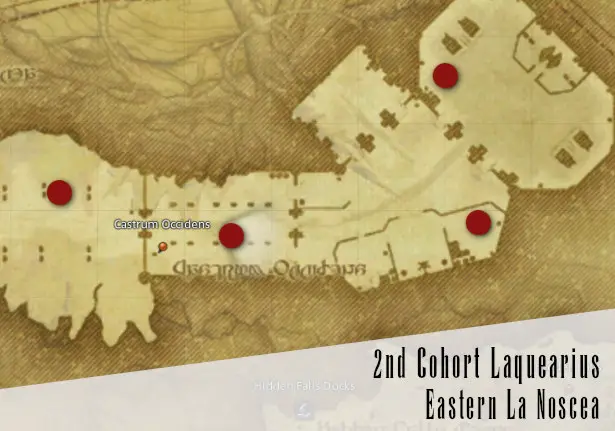
Location Information
- Region: Eastern La Noscea: Agelyss Wise
- Nearest Aetheryte: Eastern La Noscea: Wineport
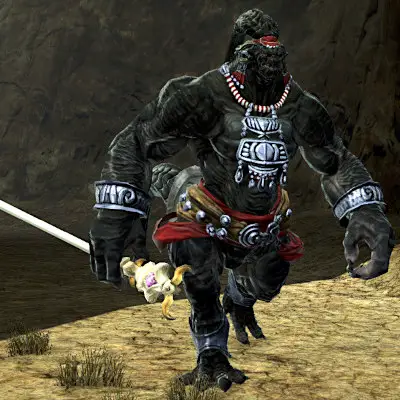
Zahar'ak Fortune-teller
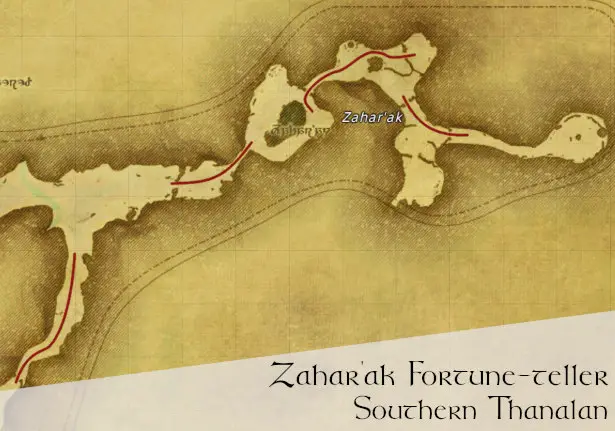
Location Information
- Region: Southern Thanalan: Zahar'ak
- Nearest Aetheryte: Southern Thanalan: Little Ala Mhigo
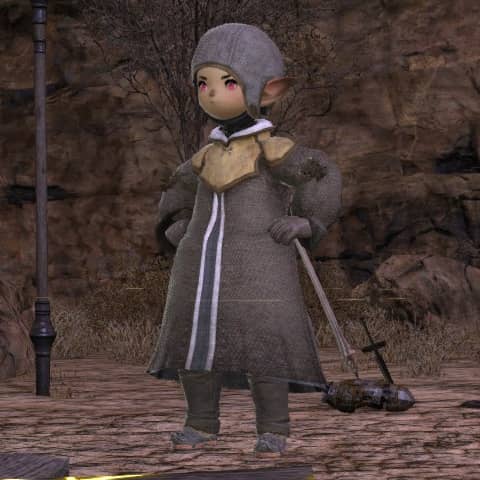
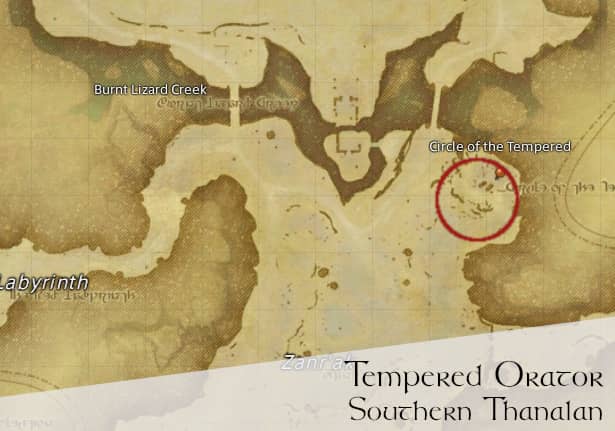
Tempered Orator
Location Information
- Region: Southern Thanalan: Zanr'ak
- Nearest Aetheryte: Southern Thanalan: Little Ala Mhigo
FATEs
They sure like to make you travel or spend you gil on teleports when clearing these, don’t they? The FATEs for the Book of Netherfire I send you to Mor Dhona, the East Shroud and Southern Thanalan.
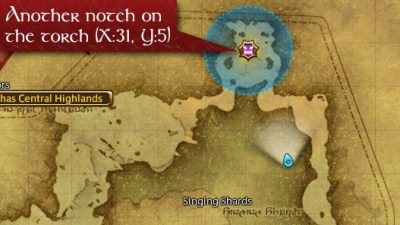
Another Notch on the Torch
Location: Northern Silvertear, Mor Dhona
Coordinates: Around (X:31, Y:5)
Nearest Aetheryte: Revenant’s Toll
Happily Mappable
Another Notch on the Torch takes place at the Singing Shards, an area charged with Lightning energies. Apparently some important event happened here. Maybe.
Hapalit Slappable
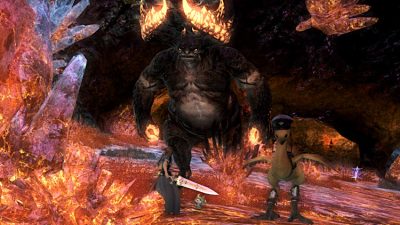
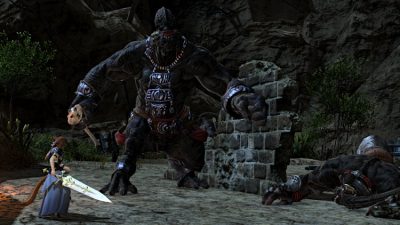
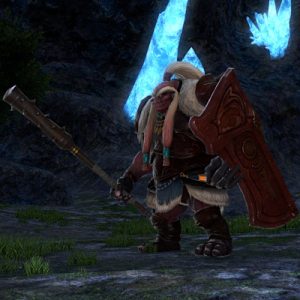
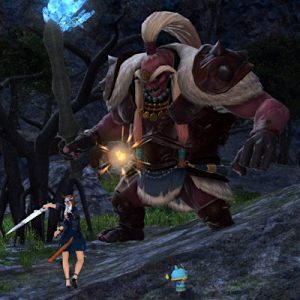
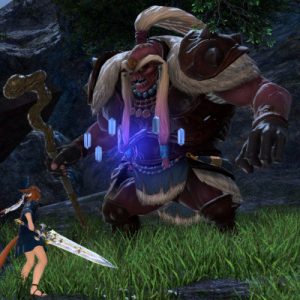
Porus is a Hapalit – a huge one at that. Apparently “Big Bosses” is a thing for the Book of Netherfire.
Use your weapons to make him more… porous than before he met you. /chuckle
Hoppily Clappable
Okay, it’s 1am, I needed to make that one up.
But you should congratulate yourself when you finish this FATE. Other Hapilits will join in the fight and if you use AoEs then there are Lightning Sprites too.
Nearby Relic Book Objective
While you’re in Mor Dhona, your required levequest One Big Problem Solved is in the same area. Pick it up to save on teleportation fees.
Everything’s Better
Location: Sylphlands, East Shroud
Coordinates: Around (X:23.5, Y:15)
Nearest Aetheryte: The Hawthorn Hut
What Is Better? Everything!
What Is Worse? Interruptions!
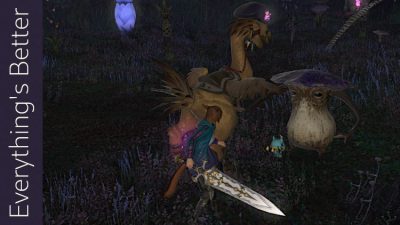
This FATE is held fairly deep in the Sylphlands and, I forewarn you, with other enemies around too. Once you level sync, Violet Screeches and Milkroot Sapling are liable to attack. These are not your FATE targets!
What Is Needed? Patience
For Everything’s Better, it is the Sylph Bonnets (walking mushrooms/toadstools) that you need to defeat. Of course, staying alive matters too. If you’re not grouped, or joined by others, be patient and clear normal landscape enemies as and when they get involved.
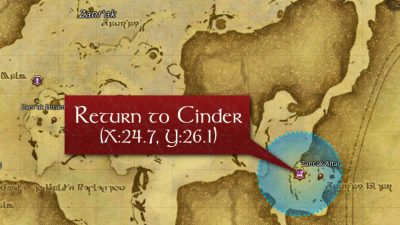
Return to Cinder
Location: Zanr’ak Alter, Southern Thanalan
Coordinates: Around (X:24.7, Y:26.1)
Nearest Aetheryte: Forgotten Springs
Huge Map, Small Alter
From either Little Ala Mhigo or Forgotten Springs, head to this almost unassuming spot on the Southern Thanalan map.
Huge Amalj’aa, Small Miqo’te
Cindersoot Pegujj Chah is using the Alter to try to discern the future of battles between the Amalj’aa and Ul’dah. And we can’t have that now, can we?
He isn’t likely to stop, so I may be a min-height Miqo’te, but I have a job to do.
Huge Amalj’aa, Small Amalj’aa
The area around the alter is populated even outside of the FATE, with Zanr’ak Pugilists and Thaumaturges, for example. And technically none of them are involved in it.
Until they are, that is. Do the same as in dungeons: clear the adds, then refocus on the boss.
All you have to do is take down Cinderfoot, while not being defeated by other Amalj’aa and Fire Sprites in the process.
Nearby Relic Book Objective
While you’re in Thanalan, consider doing the levequest Circling the Ceruleum to save on teleportation fees.
Levequests
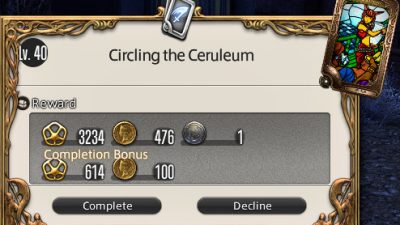
Circling the Ceruleum
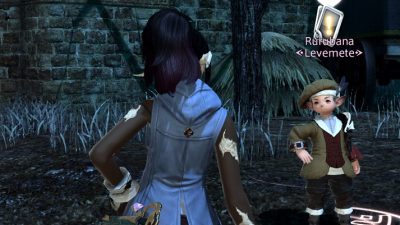
- Quest-giver: Rurubana, Northern Thanalan
- Nearest Aetheryte: Camp Bluefog
How This Leve Works
This leve is one of the simplest types, to be honest. So I’ve made it really complicated to give you extra satisfaction. No, no I didn’t, because that’d be dumb. Here you go:
Once you initiate the Levequest, your map will show circles where you need to scout.
Each glowing destination circle spawns enemies. Defeat all those that spawn. The last one will have the biggest one no matter which order you do them in.
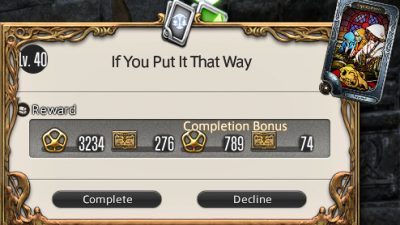
Prepare to be richly rewarded for your efforts when you return to Rurubana.
If You Put It That Way
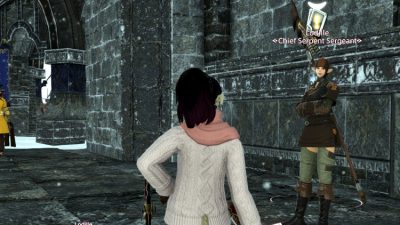
- Quest-giver: Lodille, Whitebrim Front
- Nearest Aetheryte: Ishgard (Foundation) or Camp Dragonhead
- Grand Company: The Immortal Flames
How This Leve Works
There are two ways to deal with If you Put It That Way. You can either defeat all the enemies here, or use your +10 or more levels over the Leve and focus on your end target. This may depend on which class you’re running with too.
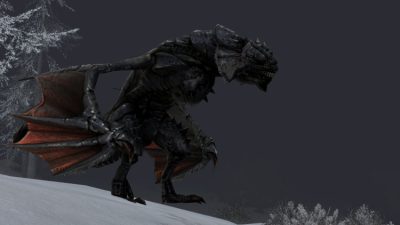
This Blizzard Biast is your primary target. Take it out and the Leve finishes.
At different health breakpoints, the Blizzard Biast summons more minions to its cause.
Defeat them all, or push through and take down the ‘boss’.
Pick up your reward and that’s another tick on your Book of Netherfire achieved!
One Big Problem Solved
- Quest-giver: Eidhart, Saint Coinach’s Find
- Nearest Aetheryte: Revenant’s Toll
- Grand Company: The Maelstrom
How This Leve Works
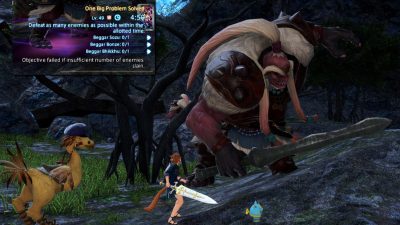
This is one of those “massacre the enemies” levequests.
To actually pass the leve, you need to defeat only one of:
- Beggar Bhikku (Gigas Bhikkhu lookalike)
- Beggar Bonze (Gigas Bonze Doppelgänger)
- Beggar Sozu (Gigas Sozu mirror)
More Giants for Science!
Defeating more within the five-minute allocation will earn you higher rewards, by the way. And that leve music ain’t going away until the five minutes is up, so you may as well kill more giants – for Science!
Dungeon Enemies
A full selection of end-boss targets awaits. An animated statue, a half-dressed demon woman and a tiny mage with a giant minion, to be precise!
Can I Run Them Unsynced?
Unless you’re well overlevelled and your gear is well overlevelled too, then take a normal party into the Hard Dungeons below. By Level 50, with your relic weapon, you can run The Sunken Temple of Qarn unsynced with few problems. My main issue was getting the Avoirdupois over the square buttons!
The Adjudicator
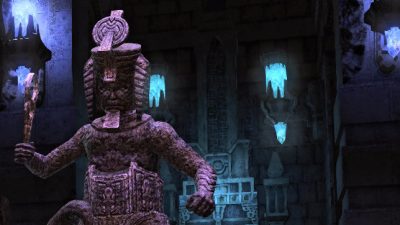
Dungeon: Sunken Temple of Qarn
Tips
By this stage you’ve run this dungeon at least once if not more by now. Dealing with the staves that appear is helpful but not technically required to finish off the boss. It depends on how your group feels and if anyone’s said they’re first-timers.
Halicarnassus
Dungeon: Haukke Manor (Hard)
Tips
Don’t let her health drop too quickly. Focus on the adds because the more HP the adds have when Harlicarnassus consumes them, the closer you get to her one-shot wipe.
Apart from that, beat the demon to a pulp as is the right and proper thing to do.
Mumuepo the Beholden
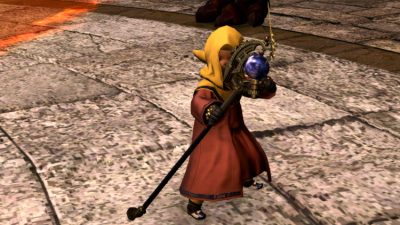
Dungeon: Halatali (Hard)
Tips
Mumuepo should be your group’s first target when the second wave of foes enters the arena. His ability to chain a team member to the spot and deal huge AoE damage need to be halted ASAP.
If another of the group is chained, get to the Thal’s Scepter and right-click (“Use”) it to free them. The chained player should get out of the AoE as quickly as they can.
TL;DR The Book of Netherfire I Definitely Has Its Challenges
And that is especially true of the dungeon bosses. But if you don’t freak out at the idea of tanking like I do, you’ll be great. Outside of dungeons, enjoy the trek to take down landscape bosses and clear the Leves.
I’m going to try to get my remaining FATE screenshots, despite the Yo-Kai Watch Event being on and groups of people FATE-smashing! Wish me luck or something.
