This is a new kind of post for me – but I thought I’d try my hand at it! Today I want to walk through the different stages of the main and bonus objectives in the SWTOR flashpoint – The Battle of Ilum in Solo mode.
The Background
Depending on which faction you take, you are either going to Ilum to sieze, or defend, Ilum’s stockpile of Adegan Crystals. These crystals are used predominantly in the construction of Lightsabers, but the Imperials want to harness their power to build a fleet of ships coined the Stealth Amada.
In my walkthrough using my Sith Assassin Nyha, you are aiming to sieze the crystals, under the watchful gaze of Darth Malgus, famous for his role in The Sacking of Coruscant. The flashpoint The Battle of Ilum, precedes the grande finale of this planet, called The False Emperor.
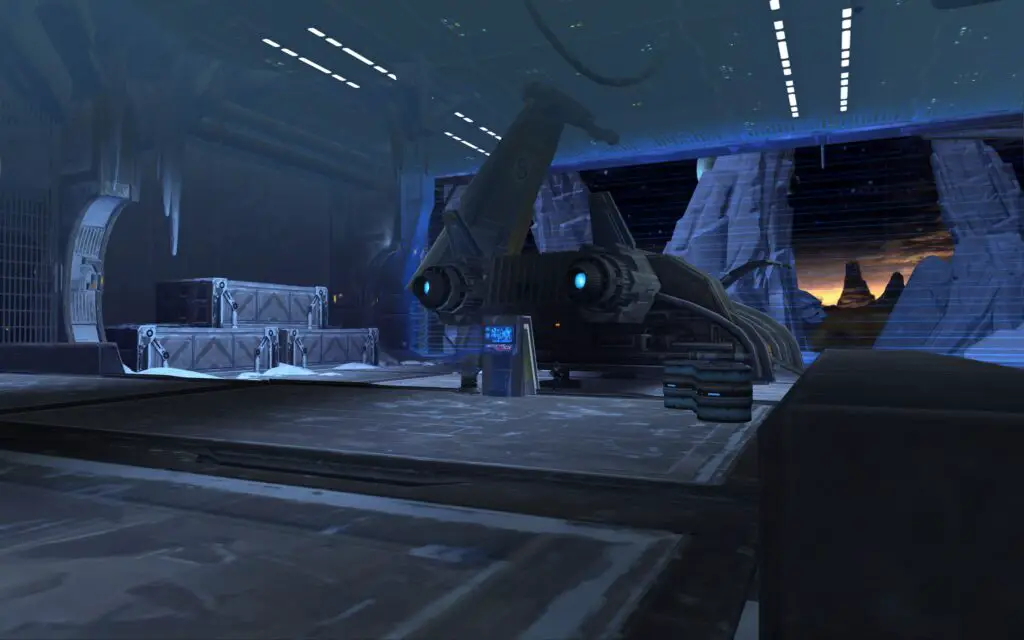
A Couple of Notes before You Start the Battle of Ilum
- In Solo mode you will be provided with a Combat Support droid, to make up for the lack of other players. You need that droid. If he is defeated, click the button in the top right to summon a new droid.
- For Champion Strength enemies, you are likely to need to use the healing terminals, even if your Companion is on healing mode. That being said, the Combat support droid usually steps in if your health gets low. But why take the risk?
Stage 1 – Starting the Mission
Once you’ve done all the storyline missions on Ilum, various Imperial and Mercenary contacts (Mandalore is featured!) assemble a War Council to decide your course of action. Once you’ve completed the conversations, you can begin the Solo flashpoint, by taking the provided cloaked shuttle to the trenches to begin your assault on Malgus’ forces. Your pilot is the celebrated Imperial Guard General Hesker, who you will recognise if you have done the Imperial storyline on Corellia.
Stage 2 – Defeat the Alien Commanders
Once you have landed at the Ilum Battle, you must go ahead and defeat the alien commanders. Malgus’ forces have harnessed alien species, contrary to Imperial dogma, so you will see a wide variety of sentients as you fight your way through.
Bonus Mission 1 – Destroy Turbolaser Batteries
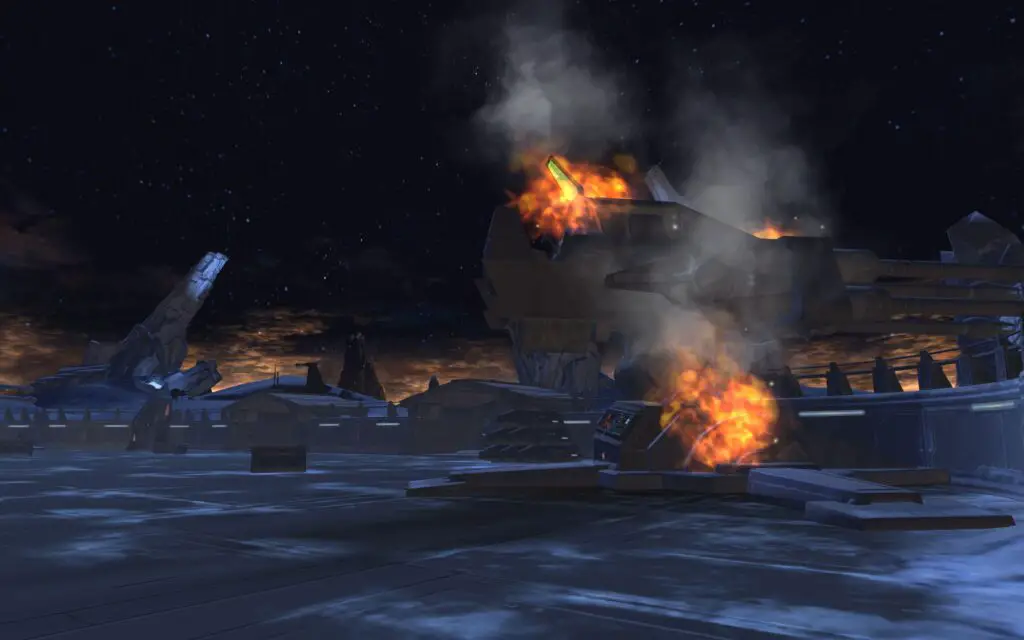
These turbolasers are not in one place – they are split across two adjacent areas, so don’t spend too long running around thinking you’ve missed some (which is what I did!). Only the console you need to overload is highlighted in blue, but when you’ve got one this is the result:
Bonus Mission 2 – Defeat Malgus’ Forces × 30
Fairly self-explanatory – if it moves it probably gets added to your kill counter, with the exception of Champion Strength foes. 30 might sound a lot, but there are plenty available, so go nuts.
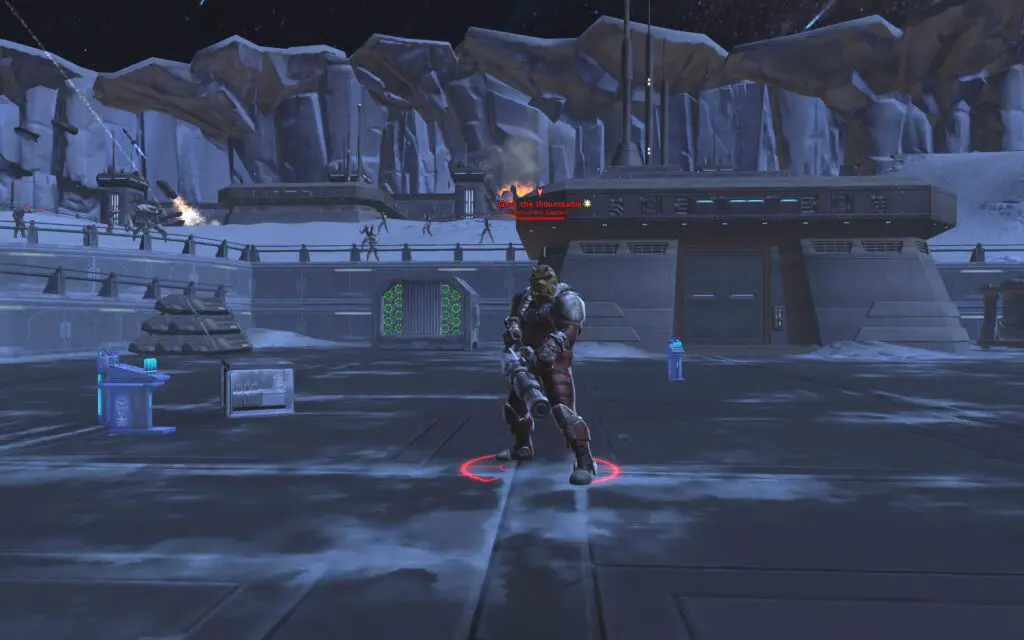
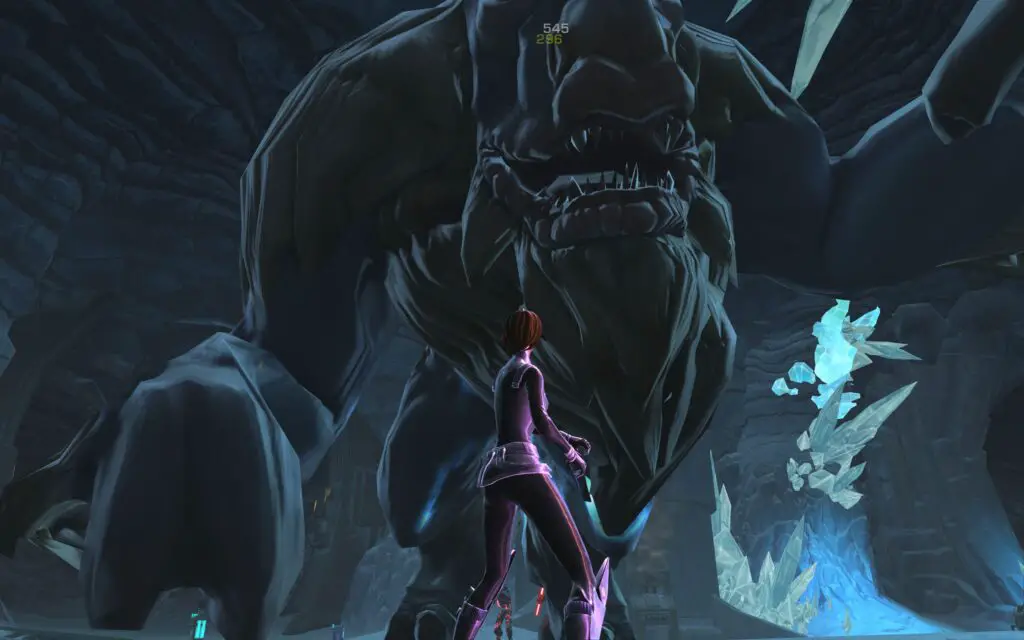
Gark the Indomitable
Bonus Mission 2 – Stage 2 – Defeat Malgus’ Forces × 40
Again, very doable. Remember it’s The Battle of Ilum not a small uprising. So it is a warzone. Check all corners of the map to kill enough mobs and you’ll be fine. Leave no-one standing and you should be able to progress your mission gradually through the map, rather than having to retrace your steps.
Defeat Kalesh and Ongree Warriors
The last part of of Stage 2 (‘Defeat Alient Commanders’) is to cut off two Champion Strength characters – Valasu Grang and Drinda-zel (it’s possible I misspelt either of these, the recent ‘dead people’ cleanup algorithm cleared them away before I could check!). I also didn’t have chance to get a screenie before they attacked! Remember:
- Make use of the healing terminals
- Now that it only has a 5 minute cooldown, you may find it helpful to use Heroic Moment here.
- Focus on killing one at once. There is so much activity in this area, you can easily get distracted.
Stage 3 – Get to Fort Barrow
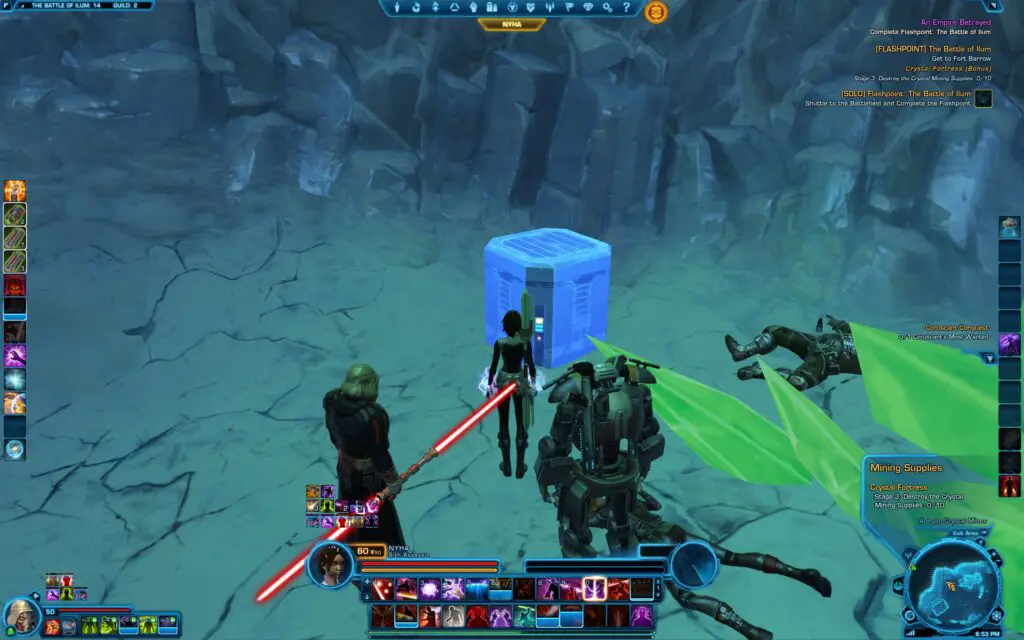
Some of these are in the tunnel and some of them are beyond the tunnel. However you will need to explore the whole tunnel complex to find them all.
These mining supplies are simple, cuboid crates, so are fairly easy to spot. Most are however surrounded by enemies, which even if you can stealth your way in, you’ll need to fight off.
So just kill them first and save the heartache of trying to blast through this battle as fast as possible!
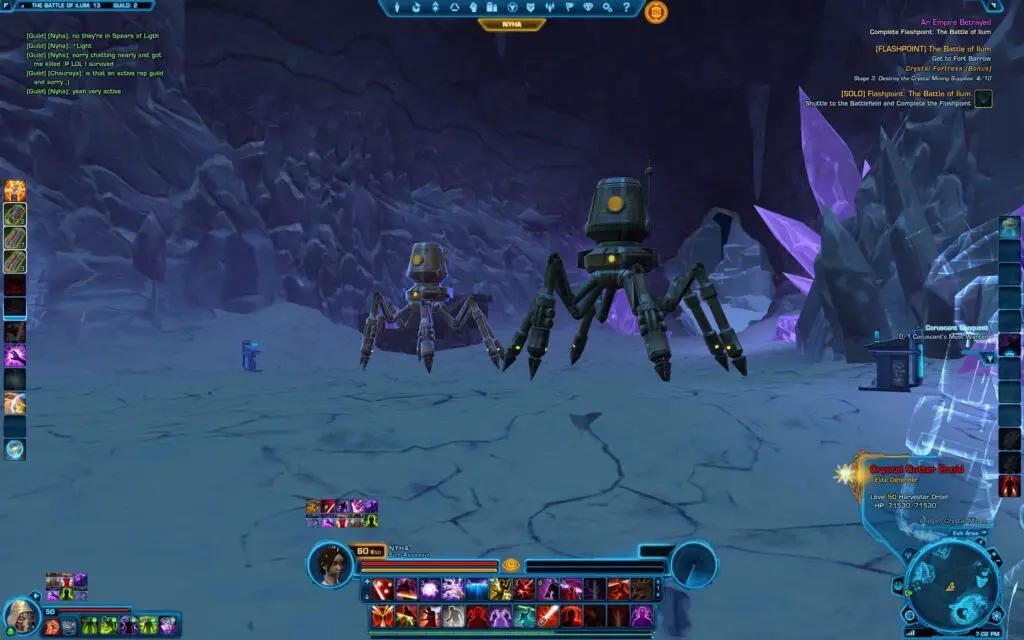
Defeat Crystal Cutter Droid and Crystal Harvesting Droid (Elite Defender Class)
“If droids could think, there would be none of us here”, Obi-Wan said (in Attack of the Clones). And that’s what these droids are put here for – total destruction. Interrupts are very handy here as quite a few droid abilities have channelling time. If you have the slice droid option, it may not work as I think these are immune to movement suppression. So just get in there and wreak havoc.
Defeat Commander Krel Thak & his Minions
Before you fully escape the tunnel complex, you’ll need to defeat Weequay Commander Krel Thak and his supporting mobs. As he stands right in your way, and I’ve never been able to sneak past an Elite foe, just dash in and kill. His supporting minions are also quite tough and I found it easier to kill the minions first, then return to Krel. Unlike Gark The Indomitable, the support mobs don’t regenerate.
Bonus Mission – Final Stage
This is broken down into two stages
- Destroy the Auxillery Generator
- Defeat the Guid Patriarch
This is marked on your map and is in a small ‘out house’ just slightly off the main route through the Flashpoint. The Guid has plenty of interrupts and bashes you around a fair bit, so you’ll need to use the healing terminals, once you re-orientate yourself that is. Just pound the Guid into submission. In The Battle of Ilum – Solo Mode these foes take a few minutes to bring down. So just be patient.
Stage 4 – Destroy Generators × 4
Stage 5 – Override the Security Console
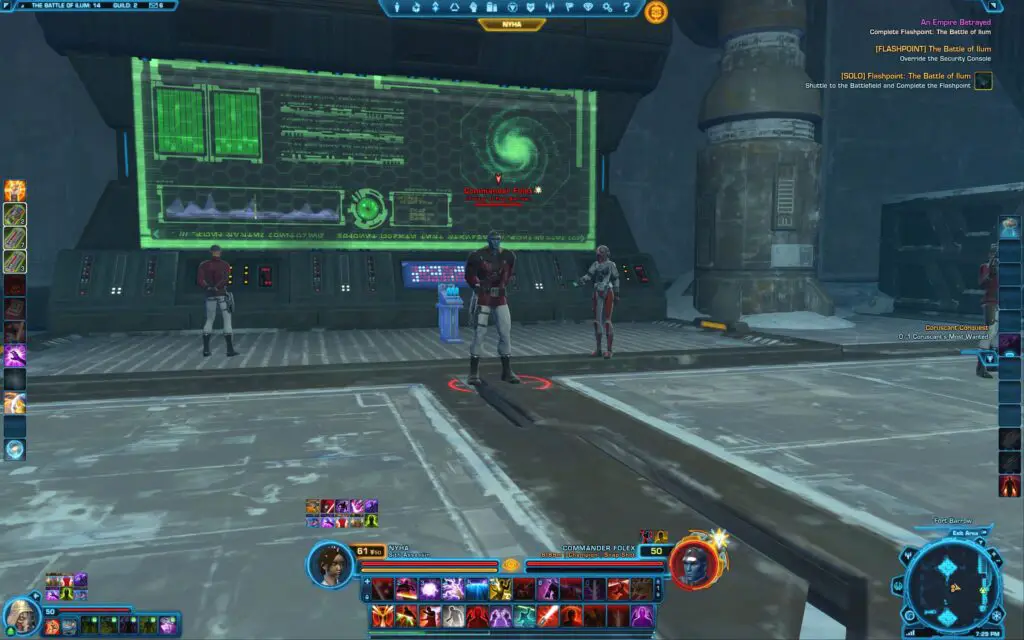
Again this is marked on your map, but is situated behind your final Elite foe before the Boss Fight, Commander Folex. His support mobs also don’t regenerate, so taking him down it more a matter of time, than of skill.
Once you have despatched Commander Folex, then you can procede to Fort Barrow a building of its own with a straightforward map. If you want you can stealth your way through to the boss fight, which is exactly what I did as it was getting late! But, if you want credits or XP, then go ahead and slaughter the heretic rebels anyway, why not?
The Boss Fight – Darth Serevin

Your final act is to decide the fate of the accompanying Voss. Do you accept their offer to serve the Empire or do you distrust them and want to destroy all traitors. Nyha is a darkside Assassin, so you can probably work out what her choice was.
The End of the Battle of Ilum
Once all decisions are taken you can exit the Flashpoint and return to the War Conference, where you’ll decide what to do about Malgus – The False Emperor. Well done, if you made it this far!
This Flashpoint, is time consuming, but if you’re waiting for more content from Knights of the Fallen Empire and you haven’t completed Ilum, this is a solid mission to get under your belt and will probably leave you ready for a drink.
