Post Sections ⇅
- How to Use this Guide
- Aristocra Seganu and Raina Temple Arrive on Odessen
- Pre-Flashpoint Preparations?
- SOLO and STORY Modes
- Copero City Missions
- Defeat the Guardian Droid
- Factory Missions
- Copero Legacy Achievements
- Mountain Puzzles
- Defeating Valss
- Full ‘A Traitor Among the Chiss’ Story Video
- The Order of Zildrog and Theron Shan: More Guess-work!
- The State of the Galaxy
- A Change in Lana Beniko’s Attitude
- TL;DR – A Traitor Among the Sith Walkthrough
On Umbara he said if millions have to die to create peace then “so be it”. So let’s launch into the story, along with how the [Solo] Flashpoint progresses – and I’ll give pointers along the way too!
How to Use this Guide
Below is a menu that you can click/tap to find specific sections that interest you. Once you click one, simply hit your browser or devices “back” button to return tot this menu!
Aristocra Seganu and Raina Temple Arrive on Odessen
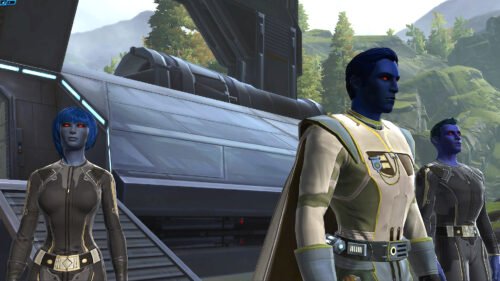
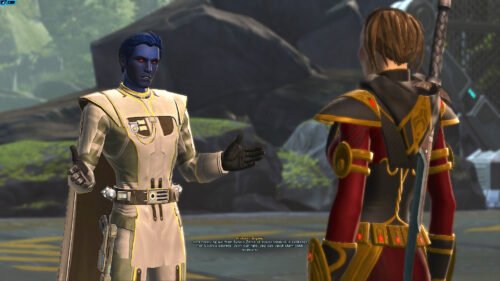
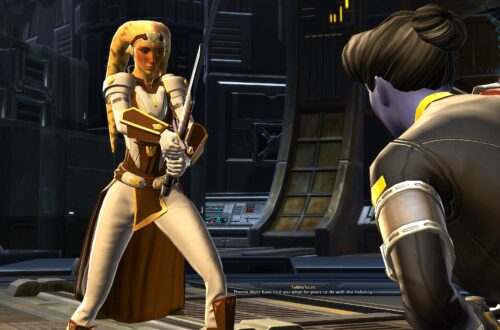
A delegation from the Chiss Ascendancy arrives on Odessen, led by Aristocra Seganu (Imperial Agent contact on Hoth). He reports that Theron Shan is seeking refuge on the Chiss world of Copero. He’s been seeking refuge with Syndic Zenta of House Inrokini, which he is paying for with Alliance secrets.
Syndic Zenta is also a traitor to the Ascendancy. That makes the title A Traitor Among the Chiss a double meaning as it’s true for the Alliance and true for the Ascendancy.
As the Syndic is also a wanted person, Aristocra wants to send one of his delegates with you to keep his interests in mind. This delegate is Raina Temple (Imperial Agent companion and possible Love Interest). I don’t have an Imperial Agent in the KotFE/KotET storyline but if that ever changes I’ll add in the reunion stuff here.
Pre-Flashpoint Preparations?
Since Patch 5.6.1, the [SOLO] Mode Flashpoint A Traitor Among the Chiss auto-bestows on completion of the introduction cutscenes. That patch also made SOLO Mode a very viable flashpoint that is still challenging but doesn’t contain the long boss fights that were taking place before the patch.
That said, I found if I gave Raina Temple some gifts to get her to Influence Level 3 and used the Command Stim from the Medical Droid, it was a much smoother ride. Because you do not get access to Raina Temple before you enter the flashpoint, you’ll need to have some gifts with you. Here is a guide![]() to the classification of gifts to help you carry the right ones in.
to the classification of gifts to help you carry the right ones in.
Other players say keeping her at Influence Level 1 is also fine, and I have done it that way. But it just felt a tad easier with the above adjustments.
SOLO and STORY Modes
Just as a quick FYI, in terms of difficulty, Solo and Story Modes are the same. In a confusing turn, SWTOR brought ‘Solo’ mode back – when for ages Story Mode was Solo. Both can be done with just a companion, but the differences are
- Solo mode can only be run once, as far as I can tell.
- Solo Mode gives you the Raina Temple and Theron Shan story cutscenes. Story mode (again, confusingly) does not.
- You can only do Solo Mode with Raina Temple as your companion. Story/Veteran/Master you can select your companion of choice.
Copero City Missions
apply_filters(‘shortcode_content’, do_shortcode(
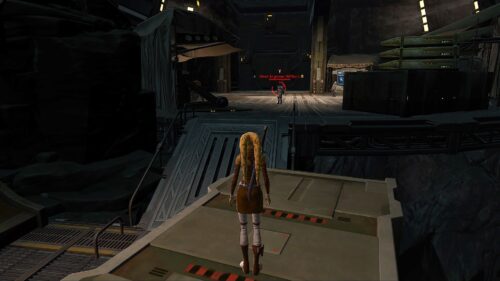
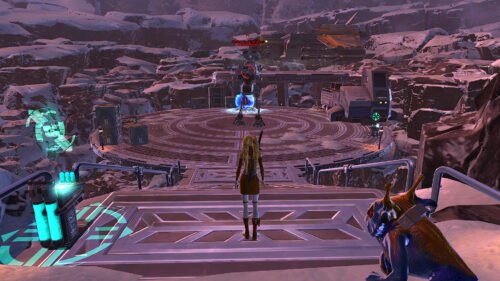
The Flashpoint on Copero sees you land right near an inhabited and well-guarded residential area. It is patrolled by groups from House Inrokini, your main foes during the Flashpoint. Be aware, ‘patrolled’ is literal – you could end up fighting more than one group of mobs at a time, if a patrol wanders past while you’re in combat!
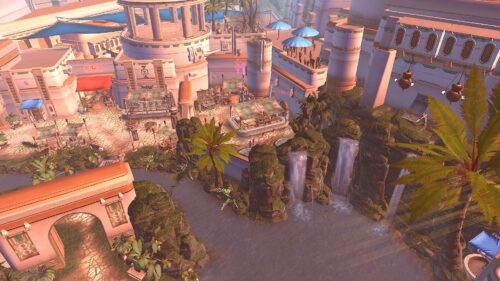
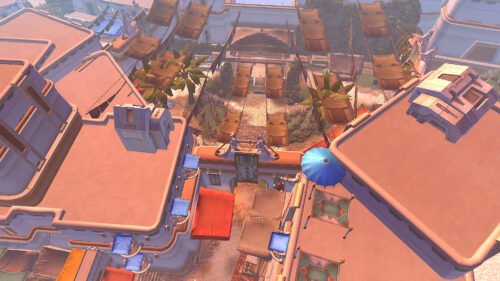
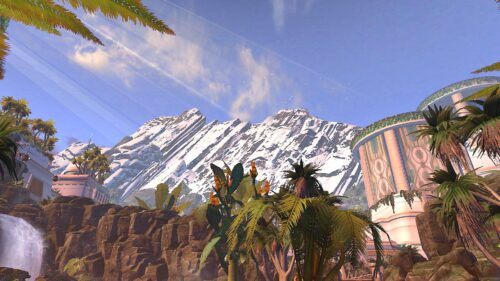
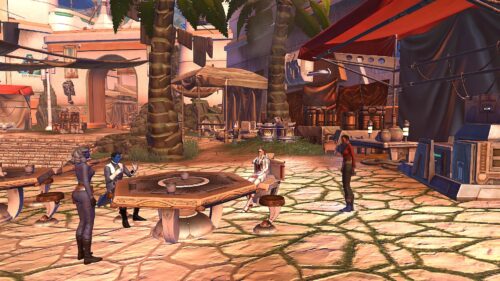
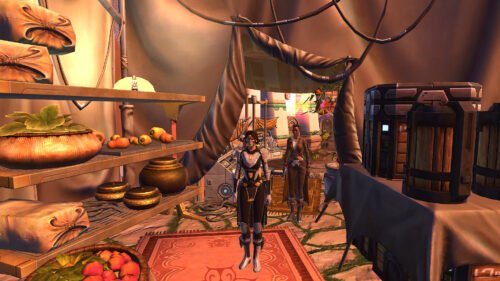
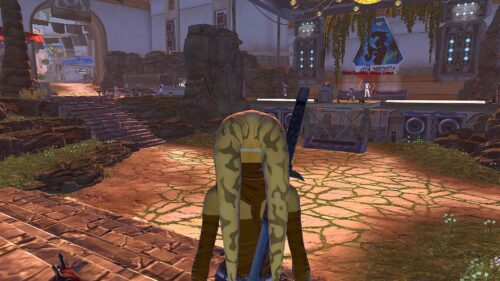
That said, Copero is stunning – beautiful architecture that feels a bit like Makeb, mountains to rival Alderaan with a bit of Rishi thrown in! SWTOR have done an excellent job designing this planet. I just wish we could have open-world here but apparently “Outsiders are not welcome on Copero” so I don’t think that’s likely!
Bonus Mission: Supply Demands
Objective: Destroy Chiss Ascendancy Supplies × 9
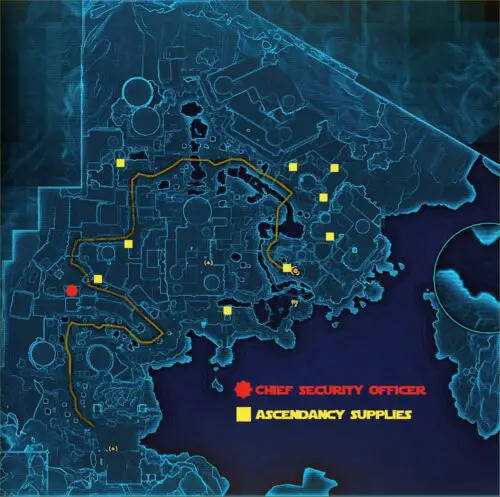
It took me a couple of runs of Traitor Among the Chiss to find all the supplies for this bonus mission! The Aristocra informs you that House Inrokini has taken these supplies from the Chiss Ascendancy. Although you suggest returning them, he apply_filters(‘shortcode_content’, do_shortcode(insists that destroying them would send a clearer message.
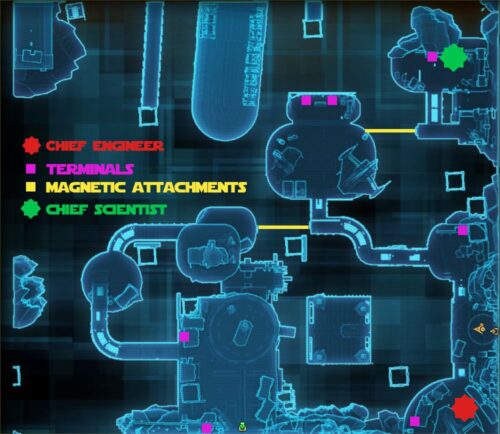
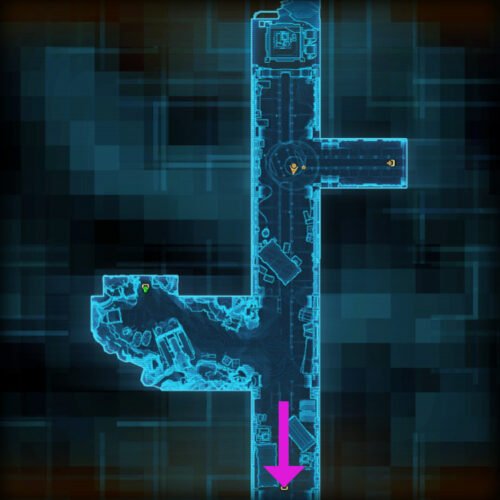
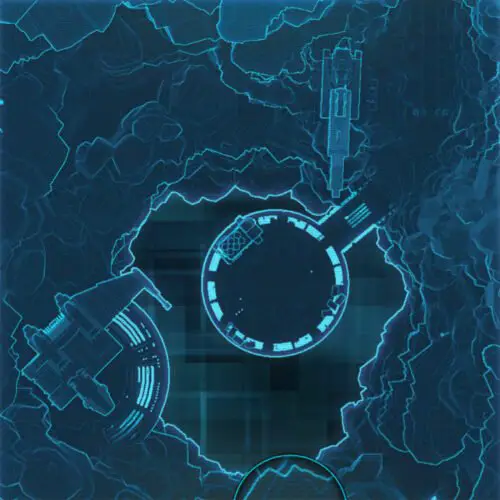
Well, it saves you carrying these things around I guess! Here’s a map with the locations of the crates. You want to do all bonuses once per legacy as there are achievements Stronghold decorations up for grabs if you do. Click/Tap the image below to load a larger version – I’ve also included a pointer to where some Supply Demands objectives are, because it’s not at all obvious.
Bonus Mission: Good Listeners
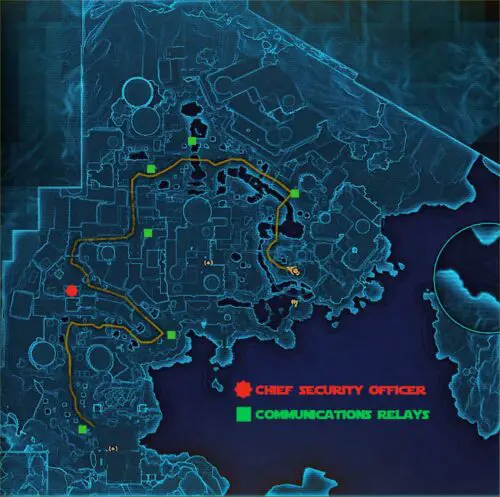
Objective: Plant Listening Devices on Communications Relays × 6
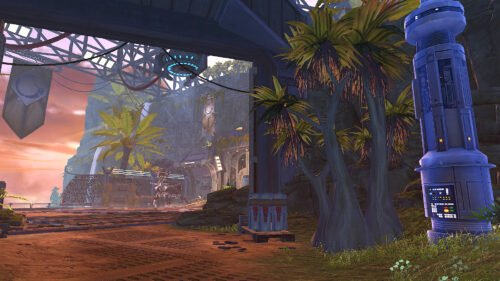
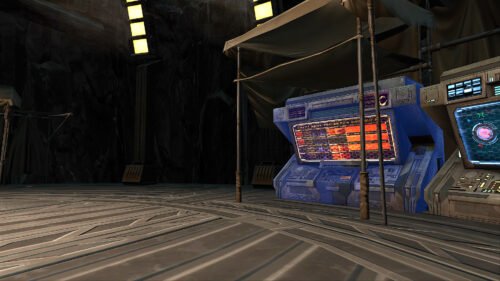
Much easier than Supply Demands, most of these relays are right on the main path through Copero City. There is one that is just out the way, so here’s a map and an example relay so you know what you’re looking for.
Defeat the Guardian Droid
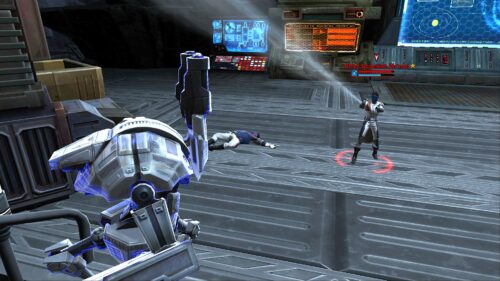
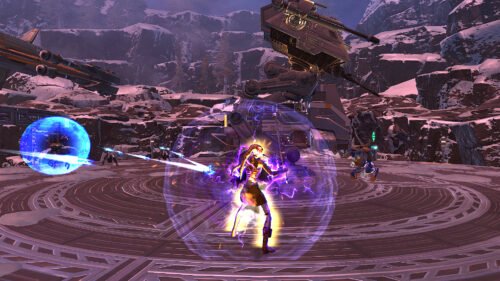
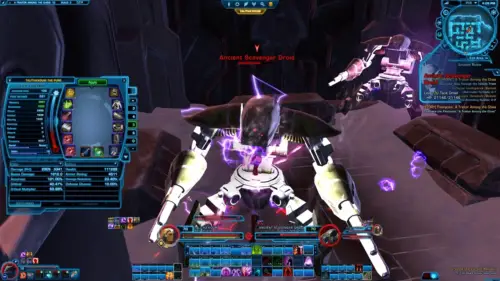
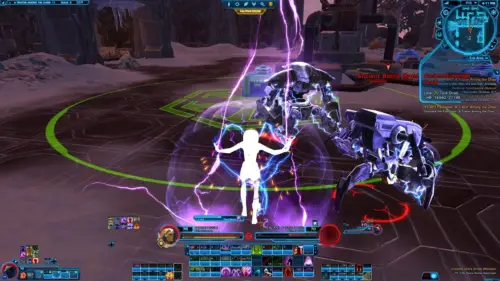
Under Solo/Story Mode, Defeat the Guardian Droid, is labour intensive but not too complicated. Here are my pointers, for the Solo player
- For DPS/Tank Players focus mostly on the Guardian Droid and only occasionally clear some of the adds nearer to your healer companion.
- Don’t stray too far from your healer. I have nearly died forgetting this.
- For Healer Players, focus your companion on the main droid. Use what few DPS abilities you have to defend yourself. And stick near the healing units. In short, stay a similar place as Raina Temple does if you have her on heals.
- Use Heroic Moment to either deal damage or for its heal-over-time.
- Don’t “Stand in Stupid” (I think that was a @Rach_Games phrase). The Guardian droid creates a lot of AoE the further into the encounter you progress. So keep moving as best so you can.
Once you have cleared the Guardian Droid you head out of Copero City and into the Factory.
Factory Missions
This area is made up of various platforms which are traversed by activating Magnetic Attachment Points. These appear in various places – such as the KotFE Star Fortresses. Sometimes these work fine, sometimes you land facing the wrong way and sometimes you can just fall off. Seems a bit hit-and-miss to me.
Bonus Mission: Terminal Intelligence
Objective: Slice Inrokini Terminals × 7
The story behind this bonus is that Syndic Zenta and House Inrokini is believed to have collected Alliance and Ascendancy Secrets for ‘some time’. Hopefully by slicing the terminals you can find out what has leaked. Note: I was disappointed that this didn’t crop up in the post-Flashpoint conversations, but it doesn’t.
Defeat Syndic Zenta
I found this encounter much harder on a healer, because the AI of the companion is not always ideal in following her. Syndic Zenta leaps around throughout the encounter and there are a lot of adds, so focus on Syndic herself where possible. And ensure you follow up her up the ramps when she moves else you’ll likely be swamped with mobs.
What Theron Shan Wanted on Copero
After you have defeated Syndic Zenta, you get a chance to question her. During those questions she reveals that Theron Shan wasn’t hiding on Copero for his own safety. He came for a relic – a Holomap. This Holomap was “obtained” by the Chiss Ascendancy years ago in case their pact with the Empire didn’t last. The Map contains the location of a dangerous artifact or weapon that can commit mass murder.
Only the higest ranking Chiss knew its location on Copero, of which Syndic Zenta was one. According to Zenta, Theron “used her” to gain access to it.
Of All the Planets in the Galaxy
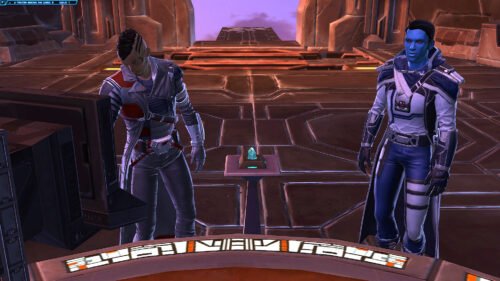
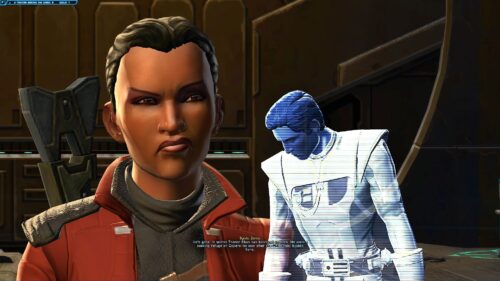
There follows a short cutscene showing Theron Shan and a rather fawning Valss, gazing at him in some form of hero worship. Valss had some “vision” showing Theron’s “victory”. Theron uses the Holomap to find the location of the relic/device, before placing a detonator on it, apparently in order to destroy it.
What planet might hold this ‘thing’ if Theron says “of all the planets in the galaxy” (meaning ‘not obvious’ – so discount Korriban, Dromund Kaas, Yavin IV – and Zakuul – for starters)? Could be anywhere, but some top places might be:
- Hoth: Complete icy wasteland, with plenty of underground caverns to hide things in.
- Tatooine: to quote an NPC “No wonder Czerka built their base in the Dune Sea. No one would ever think to look for it there”.
- Ilum: a planet strong in the Force but since the Battle of Ilum, not really ‘owned’ by anyone. Could easily hide a Force relic there.
In a previous Live Stream, SWTOR said we would be ‘going back to a planet you wouldn’t think you’d be revisiting’ or words to that effect.
Spring 2018 Roadmap Update: Keith posted in the SWTOR Forums that the next ‘chapter’ is referred to as The Nathema Conspiracy so we will be heading back to the planet from Into the Void to finish off the Traitor storyline.
Guess-work: on Umbara it appears Theron provides you and Lana an escape from the train. He does not take all the Adegan Crystals either, meaning you can salvage some for the Eternal Alliance. And here on Copero, the detonator does not completely destroy the map – Lana says afterwards that people are piecing it back together. It feels like some sort of bread-crumb trail for you to follow.
To Kill Syndic Zenta or Let Her Live?
Aristocra Seganu reminds you that Zenta is a traitor – and although the Ascendancy can’t be seen to take her out, you could. He tries to bribe you with “I may be able to negotiate an alliance”. Raina Temple also reminds you that she is a traitor to the Eternal Alliance also by purchasing Alliance Secrets from Theron.
There is no “your choice will be remembered” here, so do what you think is right for your character. I have not yet taken the “set her free” option because that seems unwise!
However there is no knock-on effect from imprisoning her or killing her. In both cases there are reasons why a formal alliance doesn’t (or can’t happen). So you decide whether you want to kill Zenta or not!
Copero Legacy Achievements
I am only going to cover ‘Veteran’ achievements, which also relate to those done in Solo/Story Mode, as I’ll almost certainly never run A Traitor Among the Chiss in Veteran or Master Mode. Some of the achievements in Legacy will tick off automatically:
- Turncoat, Deceiver and Betrayer: for completing the Flashpoint 1, 10 and 25 times across your legacy.
- First-time kill achievements: Defeat the Guardian Droid, Syndic Zenta and Valss.
- Bane of Inrokini for defeating 100 Inrokini Chiss enemies.
However other legacy achievements you will have to seek out and work a bit harder for. For a start, there are achievements for completing all the bonus missions:
- Supply Demands: Reward: 2 × Copero Propaganda Decorations
- Good Listeners: Reward: 2 × Copero Propaganda Decorations
- Terminal Intelligence: Reward: 2 × Copero Propaganda Decorations
Here are the other two Soloable Achievements with their respective rewards!
Defeat the Operations Chiefs (Reward: 20 Cartel Coins)
These totally avoidable Operations Chiefs net you 20 Cartel Coins per legacy for bagging them all once. If you look at the maps for Supply Demands, Good Listeners and Terminal Intelligence I have marked the Operations Chiefs for you on them.
- Chief Security Officer Li’Dali is in Copero City
- Chief Engineer Nil’Duru is in the Factory (just as you enter the main bit on the left)
- Chief Scientist Zir’Mai is also in the Factory (North East, using one of the Magnetic Attachments)
NOTE: If you can interrupt the Chief Scientist’s Cryo Gun, you can cause it to backfire, speeding up his demise!
Defeat the Strike Team (Reward: 2 × Copero Propaganda Decorations)
The Strike Team‘s landing pad can be found shortly after your battle with Syndic Zenta. As you head into the Factory Loading Docks, keep heading South, rather than following the path indicated by the Flashpoint mission.
This boss is optional but if you’re needing the achievement, or doing a run for decorations or Chiss Cosmetic Gear then you want to defeat the Strike Team’s walker.
My personal pointers for this, if you’re running Solo/Story Mode are:
- 3 Chiss Soldiers spawn at the back of the landing pad. Take out, or knock off 2 of them. If you defeat 3 Soldiers they all respawn, but knocking off two didn’t make them respawn. At least not in my run!
- Ignore the Shielded Probe Droid completely, that shield never comes down!
- The AoE abilities of the Walker hit hard but seemed to hit my playable character more than my companion. not sure why. Try to stay out of the AoE, especially when the fire burns in the middle of the landing pad.
- Apart from that it’s Smash-and-Grab. But if you have any ‘rolling’ abilities (I know Gunslinger, Guardian and Warrior have something like this) try not to hit it. I fell off once accidentally hitting that ability!
Mountain Puzzles
Once you get out the factory, you end up higher up the mountains where the night begins to dim and the snow falls! Very pretty!
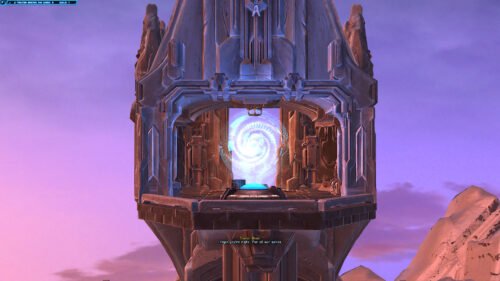
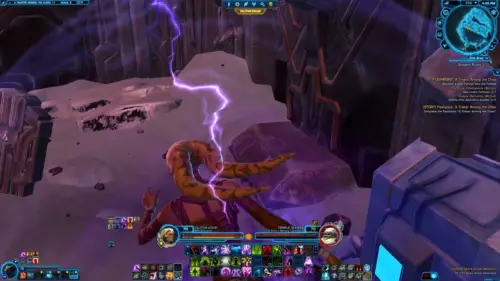
This section also starts some puzzles. Kinda. Ignoring the Temple Guardian Cat (just lob the fruit), here are the other puzzles.
Steam Channel Redistributor
The Stone-and-Laser Maze
This is, by no means, a ‘perfect’ run through the maze. But it shows you how to turn off some of the lasers. You do not need to turn them all off to pass through safely.
The Final Ice Wall
Defeating Valss
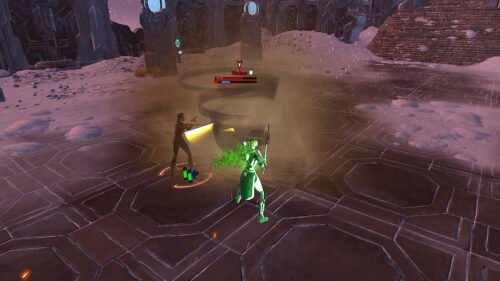
Once you’re through the maze and the puzzles, you find Theron Shan fleeing just as you arrive. The Force-Sensitive Chiss, Valss, jumps to take you on, declaring that “Victory isn’t my fate, Theron, it’s yours”. Under Solo/Story Mode, this is almost Smash-and-Grab, but not quite. My pointers, if you’ll take them from a gamer who is much less than perfect, are:
- As the fight progresses, Valss switches between Ranged Rifle to Force Abilities to Dual Lightsabers. Just bear that in mind for your own plan of attack
- The Whirlwinds he sets off cannot be damaged, just keep moving!
- Valss cannot be interrupted but if he Force Chokes your companion, try to cleanse it (depending on you being able to cleanse Force/Mental abilities)
- There are some hard-hitting AoE abilities. As always, just keep on the move.
- I found this fight hard-going as a healer: Valss uses stuns on the healer then AoE while you’re stunned. Just keep your stun-escape abilities handy!
Full ‘A Traitor Among the Chiss’ Story Video
The Order of Zildrog and Theron Shan: More Guess-work!
It turns out that The Order of Zildrog is the group Theron has joined. For what ends we don’t know. The Heralds of Zildrog were referred to, during Knights of the Fallen Empire, by Senya as “a cult of Zealots longing for the return of a mythical serpent god.” But even during KotFE they were not just a religious organisation – Senya says “now they’re militant”.
My guess is that they were not pleased with your rise to take over Zakuul, whether as Emperor/Empress or by working with the Eternal Empire as a peace-maker. Maybe they seek to rule Zakuul. It would certainly be a viable progression in the story.
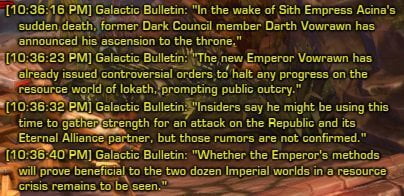
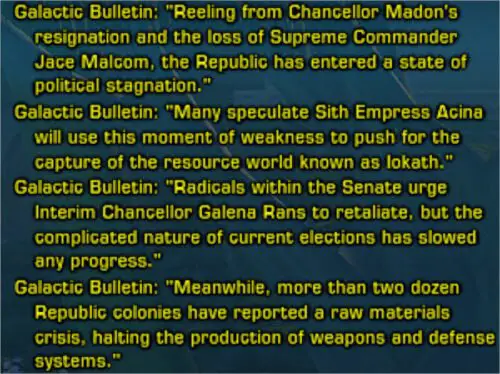
The State of the Galaxy
As you work through Copero City you hear a tannoy announcement about the state of the galaxy. This announcement varies depending on who you sided with on Iokath, and may give a hint about future content coming out of SWTOR. My thanks to @Rach_Games![]() for providing the Republic-sided version here:
for providing the Republic-sided version here:
- Whoever you don’t side with has difficulty with raw materials
- If Acina died on Iokath, Darth Vowrawn becomes Emperor.
- If Jace Malcolm died on Iokath, there’s no clear indication of who is leading the Republic.
- The question of domination of Iokath rears its head (again).
With that one decision on Iokath, Bioware have given themselves the task of catering to two different galaxies. Obviously, scripting-wise Acina/Vowrawn could have identical scripts. However the power balance looks vastly different. Interesting times, I think!
A Change in Lana Beniko’s Attitude
A final thing to talk about here is an unstabling of Lana Beniko’s normally pragmatic approach. There was a hint during Crisis on Umbara when Lana says “He will regret ever betraying a Sith”. At the end of A Traitor Among the Chiss, Lana gets even more aggressive, calling Theron Shan “scum”.
I partly wonder whether this will lead to some choice further down the line of having either Lana or Theron in the Alliance. Even if Theron has good motives, it doesn’t sound like Lana will easily forgive his actions. As always we wait and see.
TL;DR – A Traitor Among the Sith Walkthrough
I hope this walk-through has been useful! Copero is a beautiful planet and, once you dispatch some of House Inrokini, there is plenty to explore and enjoy! From a story perspective we know Theron Shan has joined the Order of Zildrog to acquire a weapon that could destroy the Eternal Alliance. And there are queries over the state of the galaxy going on as well. A Traitor Among the Sith, is very much replayable as a Solo player (in Story Mode), and once I have replayed a few times myself. I will be intrigued as to what happens later – not just with Theron, but the wider galaxy in SWTOR, too.
