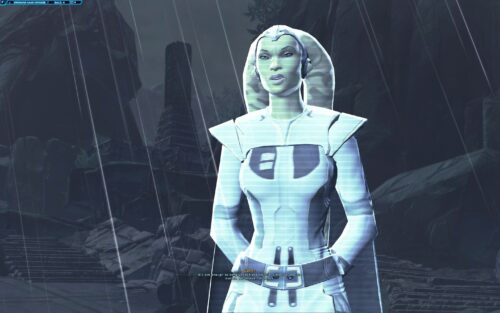
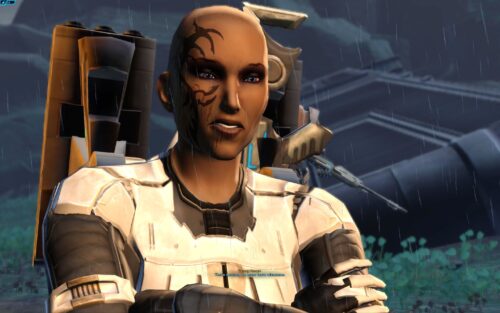
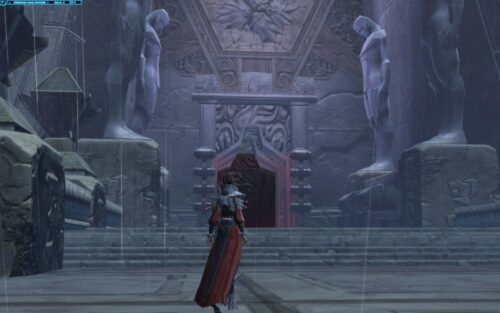
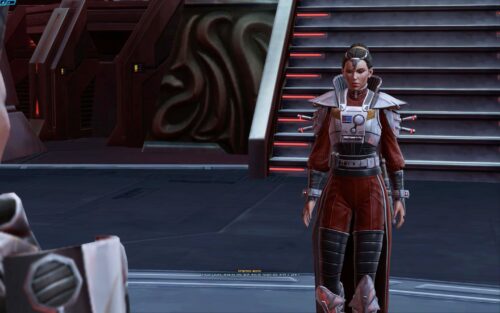
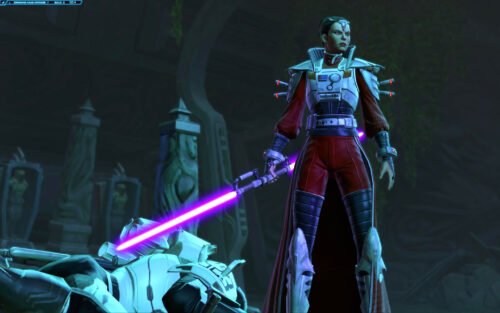
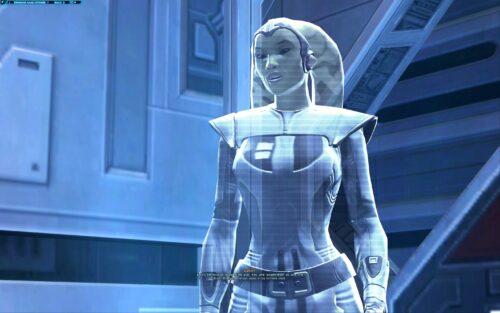
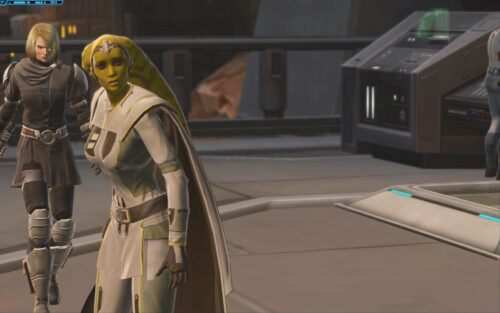
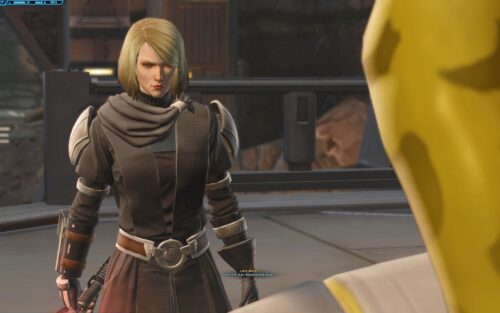
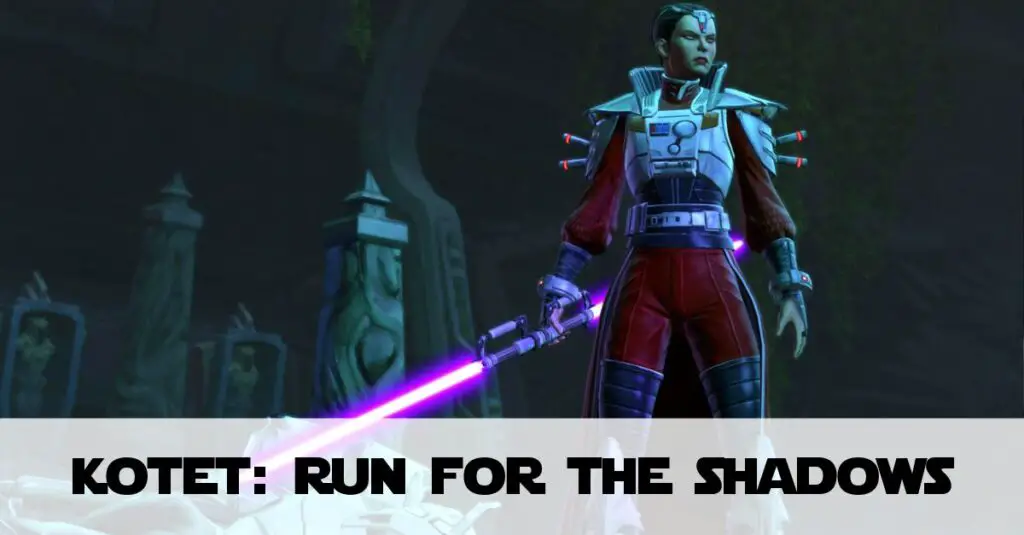
 At the end of Wrath and Ruin, you receive a holocall from Empress Acina of the Sith Empire. She proposes a meeting to discuss how you might be able to work together in opposing Vaylin. As my first run was on a Jedi Guardian, Acina is also aware of the mistrust this particular Outlander might harbour. After all, it was the Jedi Knight story that saw Vitiate apparently destroyed. But the new Sith Empire? It sounds like Empress Acina has been talking to Darth Marr and Satele Shan about restoring balance in the Force, as in Visions in the Dark. So KotET Chapter 2 begins with your journey to Dromund Kaas, as you Run for the Shadows.
Looking for the Relic Hunter bonus mission? Click Here!
Meeting Empress Acina
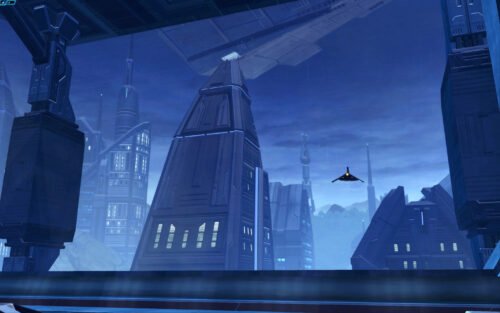
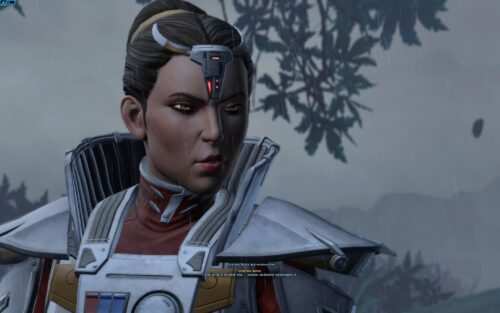
Dromund Kaas has been able to rebuild after the initial onslaught of the Eternal Empire. With most of the Dark Council dead or missing, Darth Acina declared herself Empress of the Sith. As a Jedi you can’t help but be wary of being invited into your former enemy’s capital world. But once you meet Empress Acina, it is immediately clear that attitudes have changed – at least for now. In your initial conversation with her she says:
In the past, arrogance would have blinded us to our flaws. Now we understand admitting weakness is the first step in eliminating it.
Her change in attitude is clear when Minister Lorman attempts to tell her that “The Sith Empire has always been glorious”. Prompting her to say she would rather talk to you alone on her personal shuttle.
The Crashed Shuttle
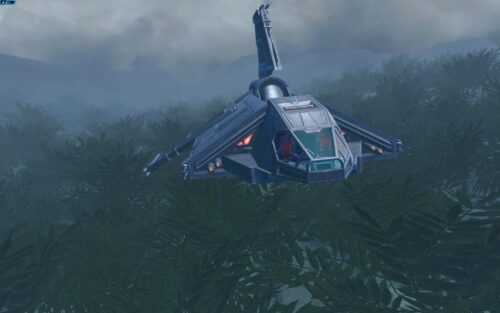
So you take Empress Acina’s personal shuttle for a flight over the Dromund Kaas jungle. This is where Run for the Shadows begins to take an intriguing turn. Your shuttle is clearly shot down, forcing The Outlander and the Empress to bail before it crashes. Who wants you both dead? And why?
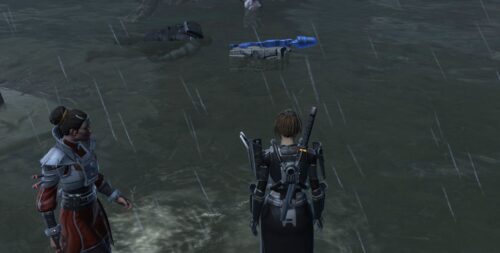
Forced on foot and with comms jammed, you both have to trek through the jungle to attempt to find a way to communicate with the outside world. A cautionary word here – Dromund Kaas is known for its lightening storms. Flashes of lightening have red circles on the ground before they strike – so avoid these!
Bonus Mission 1 – Killing the Jungle Beasts
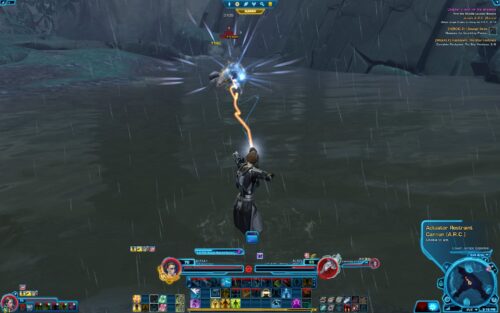
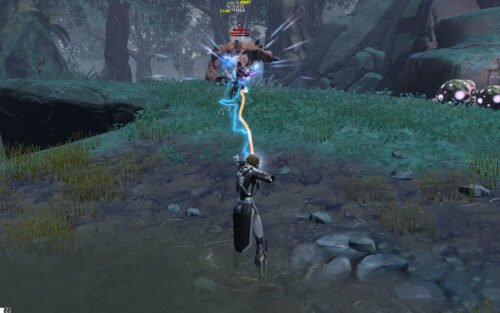
There are multiple opportunities to pick up the ARC (Actuator Restraint Cannon). This weapon has a 10 Second use in any one go. This is enough to kill Silver-rated Beasts and get Gold-Rated beasts down to about 50% health. So long as you blast the beasts long enough with the ARC – even if you have to finish them off with your own weapon – it counts towaards the bonus target of 10. Anything marked with “Jungle Beast” counts, even if they are “Yellow Grade” creatures that only fight when attacked.
The Cannons can be found in the Jungle, and later at the GenoHaradan Camp (there are loads in this camp).
The GenoHaradan and the Saresh Conspiracy
As you work your way through the Jungle, you are intercepted by a band of Bounty Hunters, who turn out to be an elitist group known as the GenoHaradan. Acina believed the GenoHaradan were a myth, a reputation earned according to one of them, by “never leaving witnesses” to their murders.
In this initial fight, watch for the probe droids that slow your progress. They will respawn a few times during your fight. It’s much easier to take these down before continuing your fight against the Bounty Hunter.
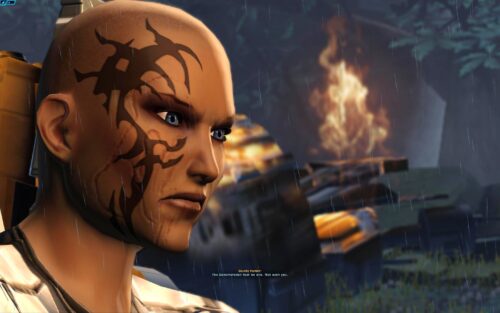
Eventually you find the GeoHaradan Camp where you find a Datapad, containing a holo-recording of former Republic Chancellor Saresh. The recording appears to show Saresh ordering the GenoHaradan to kill Acina and the Outlander, not just take down their shuttle – No Bodies, No Bonus. Your discovery is interrupted by a ship coming over you and firing on your position, which forces you both to seek shelter in a nearby Sith tomb.
Into the Sith Tombs
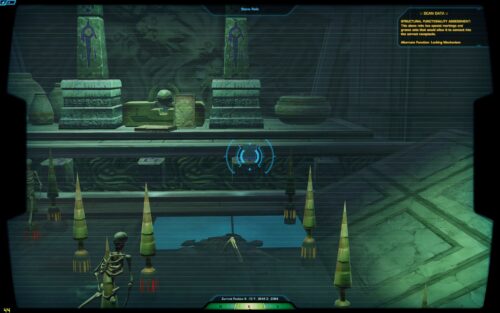
To escape the GenoHaradan, you need to navigate the Sith Tombs. This stage, combat-wise is pretty straightforward, until you hit the end. However, Sith tombs were often filled with traps and snares to ward off any tomb raiders. There are no traps until you see a portable scanner lying on the floor. After that be wary!
Use the scanner to highlight where floor traps are and navigate around them.
Bonus Mission 3: Relic Hunter
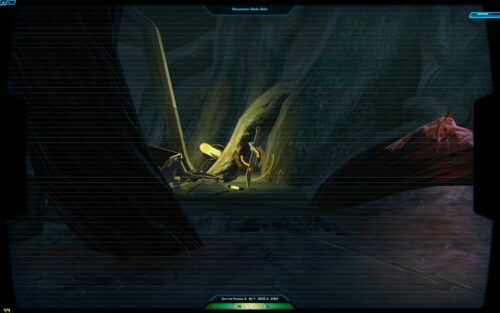
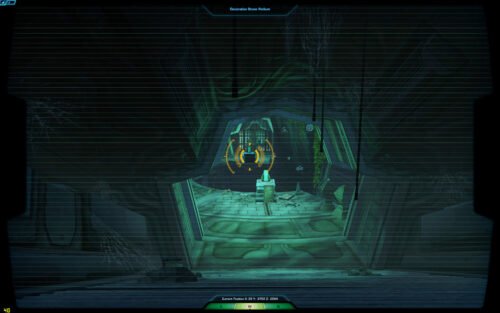
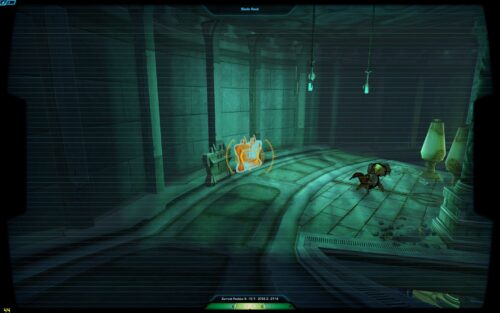
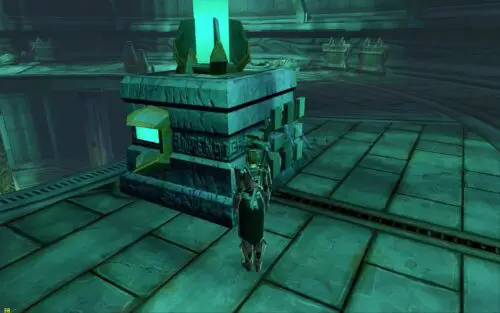
The second bonus mission involves scanning and using four relics in the tomb. The screenshots showing these are below. once you’ve scanned four (one of which is half-way down the windy stairs), you need to backtrack to the top of the stairs. And finally back down the stairs to Relic 4. This opens a locked chambre containing a portable relic which gives a temporary boost to your durability in combat. Beware: the locked room also has traps in it!
Relic Hunter Walk-through Video
The tomb scene culminates in a drawn-out fight with the remaining GenoHaradan, flanked by Minister Lorman. He reveals he has been working with Saresh to help take you two down. You can then decide Lorman’s fate. My Force-Neutral Guardian didn’t appreciate being betrayed, so joined forces with Empress Acina in a joint assassination. Most satisfying to shut him up!
What We Learn About Valkorion
Throughout KotET we learn more and more about Valkorion. The only snippet we garner from Run for the Shadows is that he has worn many faces. This chapter tells us kind of what we already knew: Vitiate, Valkorion, “Lord of the Sith” were just some of the many faces. We learn more about this during “Into the Void”.
The Saresh Take-Over Bid
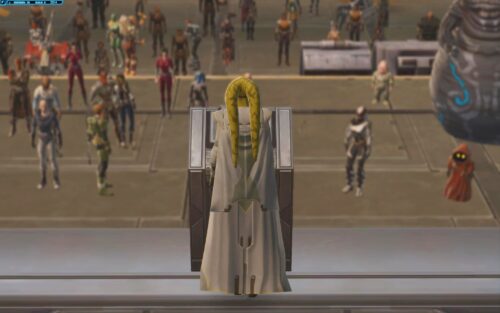
So we come almost to the end of Run for the Shadows. Except there is a final twist: Saresh, presuming the GenoHaradan to have been successful makes her way to Odessen to attempt to take over the Alliance. Her hunger for power is never satisfied. In a mad rush back to Odessen, as Saresh is telling the Alliance you have been killed, you make a dramatic entrance to put her in her place.
As Saresh knows she’s beaten, you’re asked what you want to do with her. Saresh answers:
Execution I expect. It’s what Vaylin would do. It’s what I would do.
Depite killing Lorman earlier, being encouraged to follow the behaviour of Vaylin and Saresh, my Guardian chose to imprison her instead. Here’s The Light Side Ending to Run for the Shadows:
And here’s the Dark Side ending should you choose to Punch and Kill Saresh!
TL;DR Run for the Shadows Round-Up
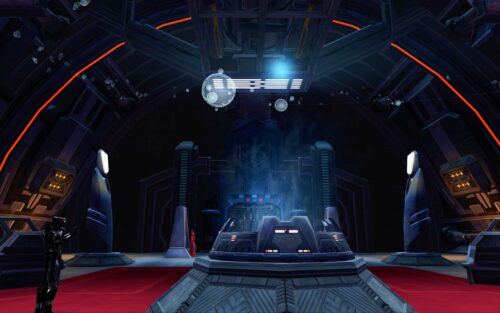
KotET Chapter 2 is really well written and exceuted. There is intrigue, conspiracy and mystery. There are also puzzles and traps to solve. And the end scene paints the Outlander as able to withstand anything thrown at them. And it also gives you the option of solidifying the Sith Empire as allies, or not. I really enjoyed this chapter – and listen out for some of Acina’s quips while making your way through the jungle – she has quite the sense of humour. I’ll leave you with some final screenshots of this chapter – enjoy!
